DIY Rope Bags
Purpose
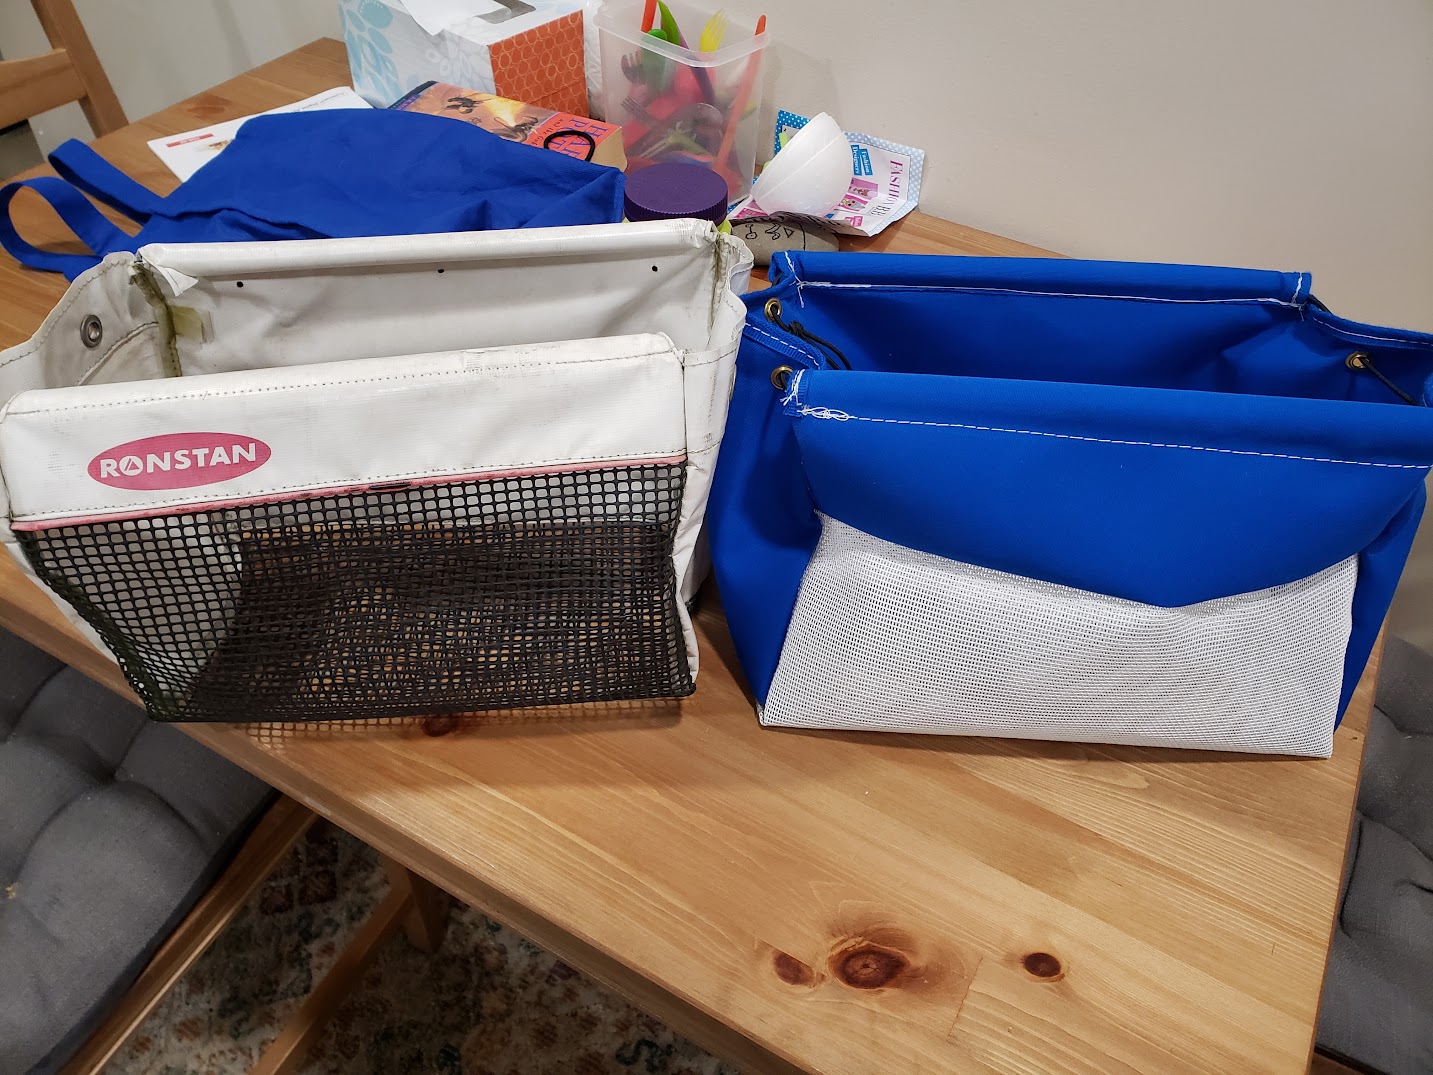
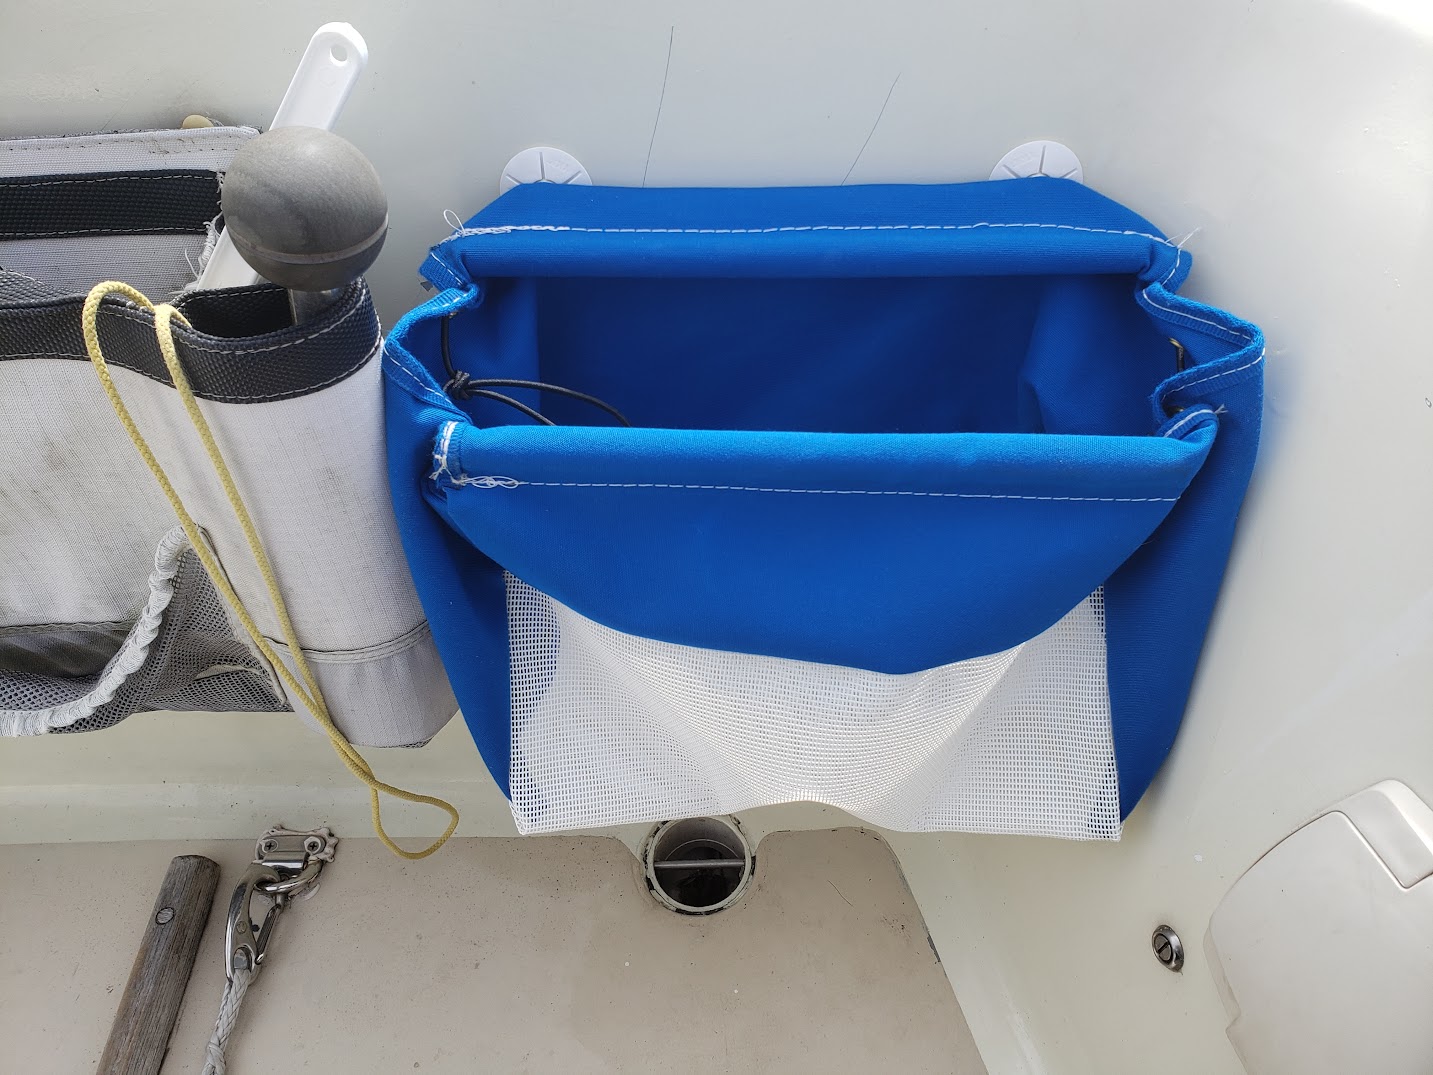
My boat needs some new rope bags. The old Ronstad ones have held up incredibly well, but they just werent sticking to the back of the cockpit anymore. Lured in by the appeal of trying SNAD fasteners and having some leftover Sunbrella material from a sail cover I made, I decided to see if I could make them myself.
It should be noted that Sailrite does have a howto on making sheet bags but I was looking for something with a bit more structure. I really like the way the Ronstan ones used shock cord and hollow tubes to make it easy to get things into the bags while still allowing you to cinch it down and have it out of the way.
Materials
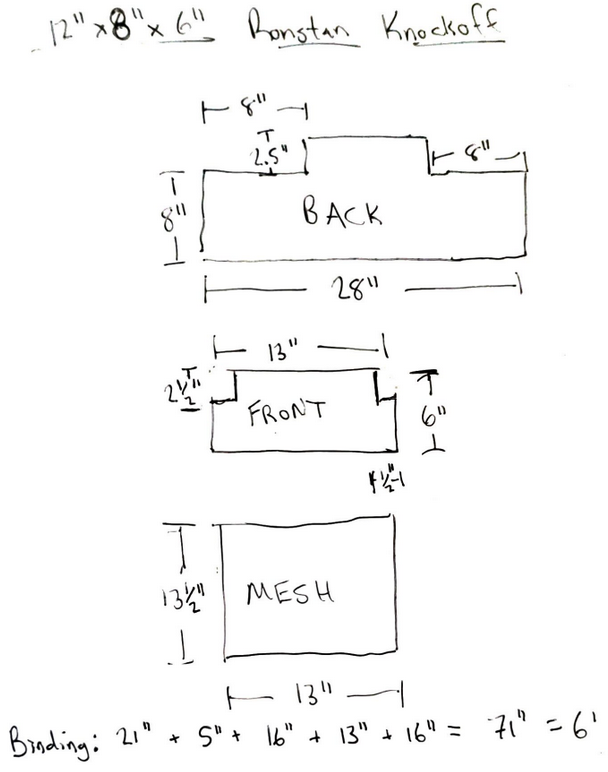
You will need Sunbrella material for the back panel, mesh material for the front, and binding for the seams. I’d say a yard of Sunbrella and a yard of mesh could probably make four bags, but check the pattern. Likewise, I worked out about 6' of binding per bag. I used white UV resistant polyester thread.
Finally for the hardware you’ll need two SNADs, two studs, and two buttons. You’ll also need four non-load bearing grommets for the sides. I used cheap brass ones I had laying around.
Pattern
Here’s my pattern for the cuts:
Panel Binding and Pockets
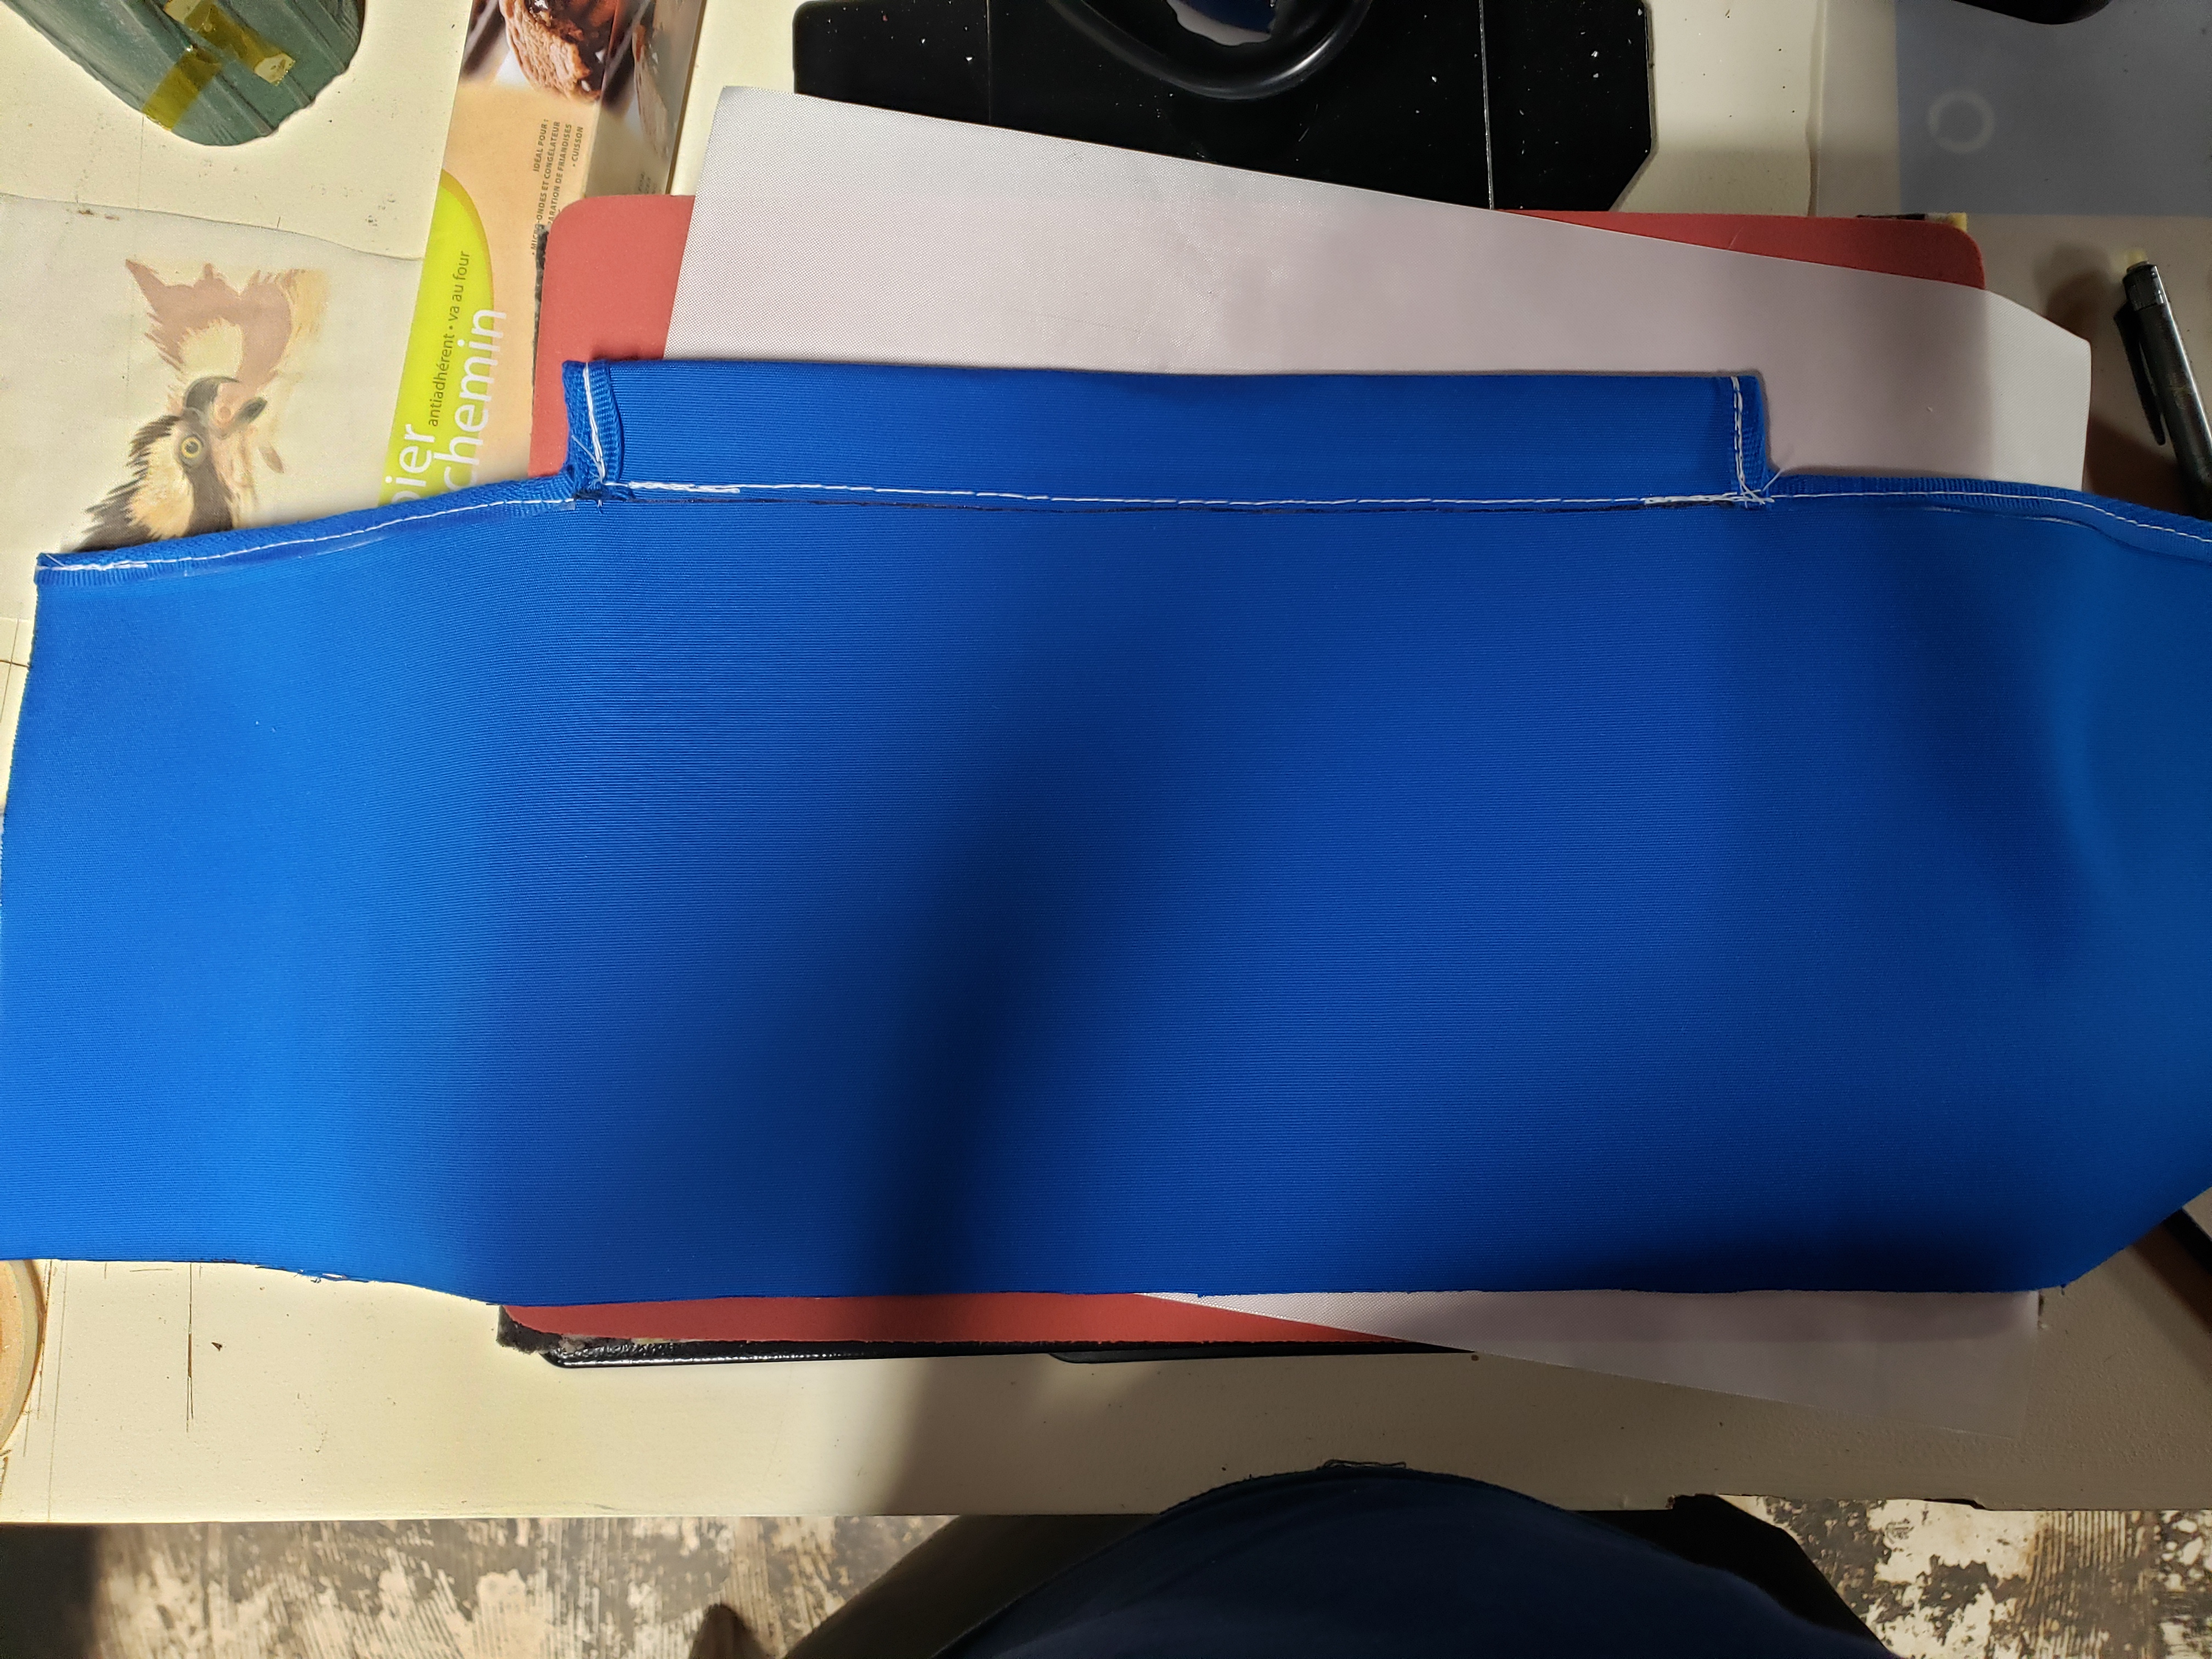
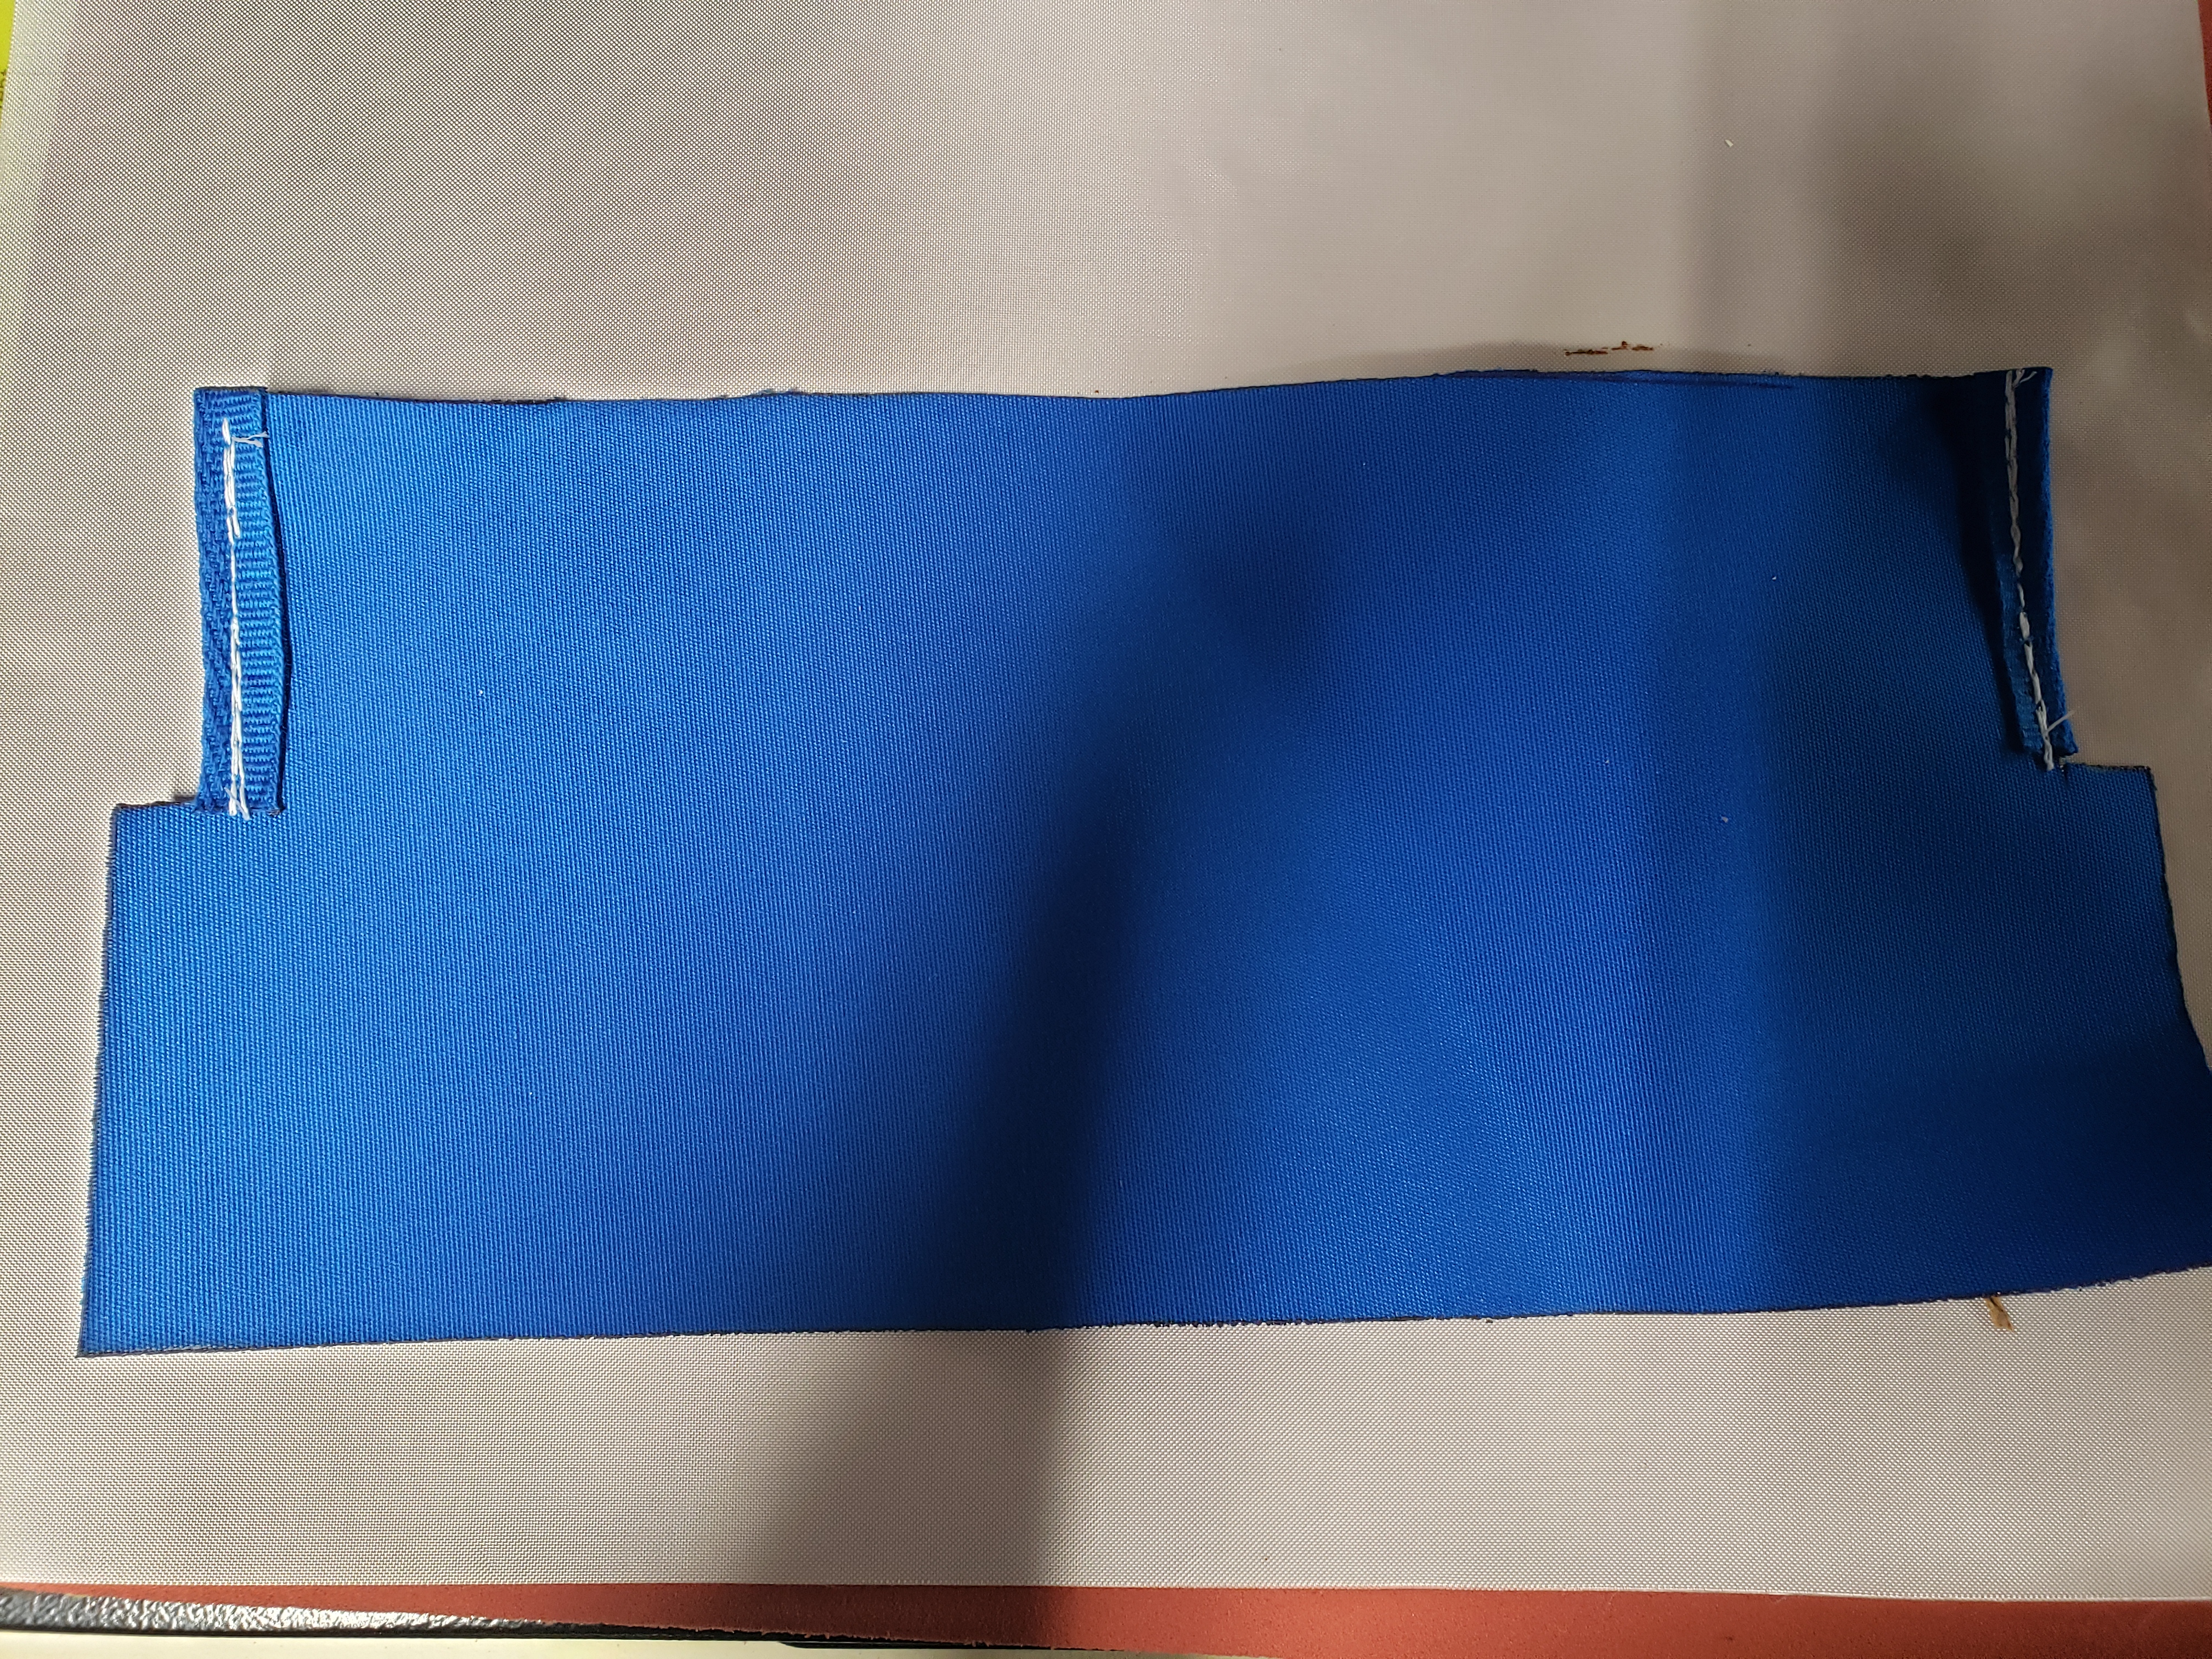
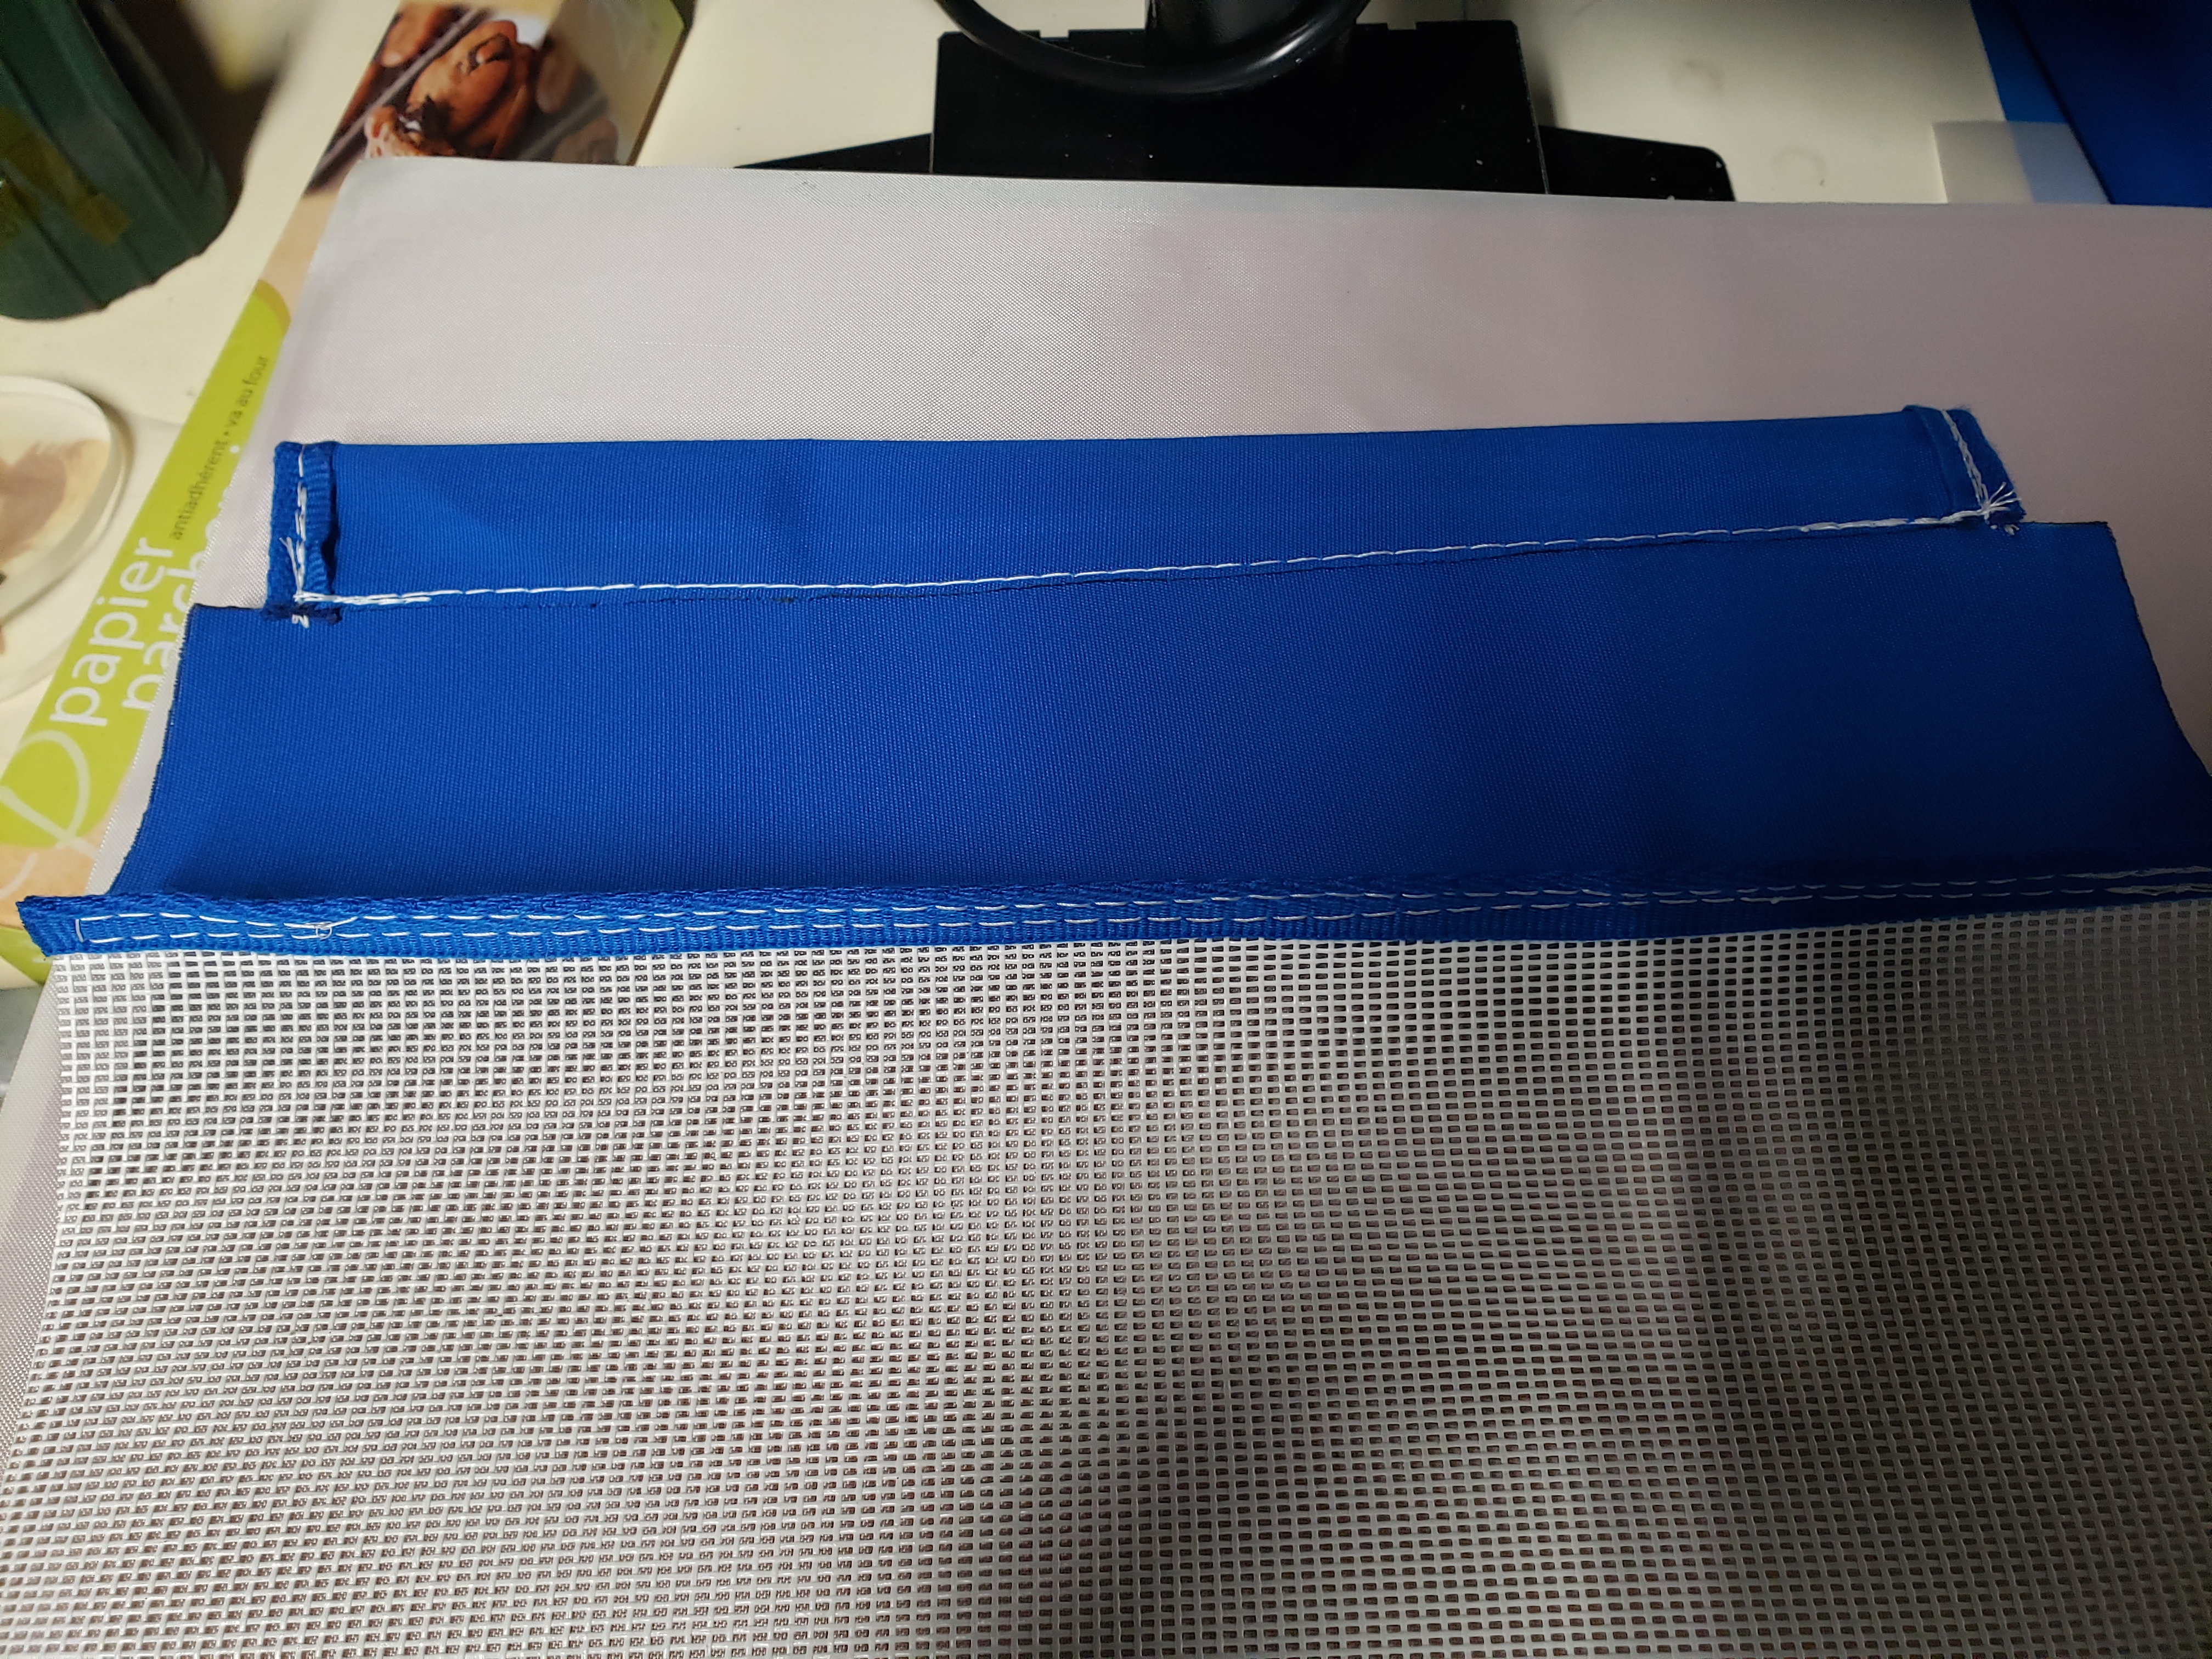
Add binding around each of the top corners of the back panel:
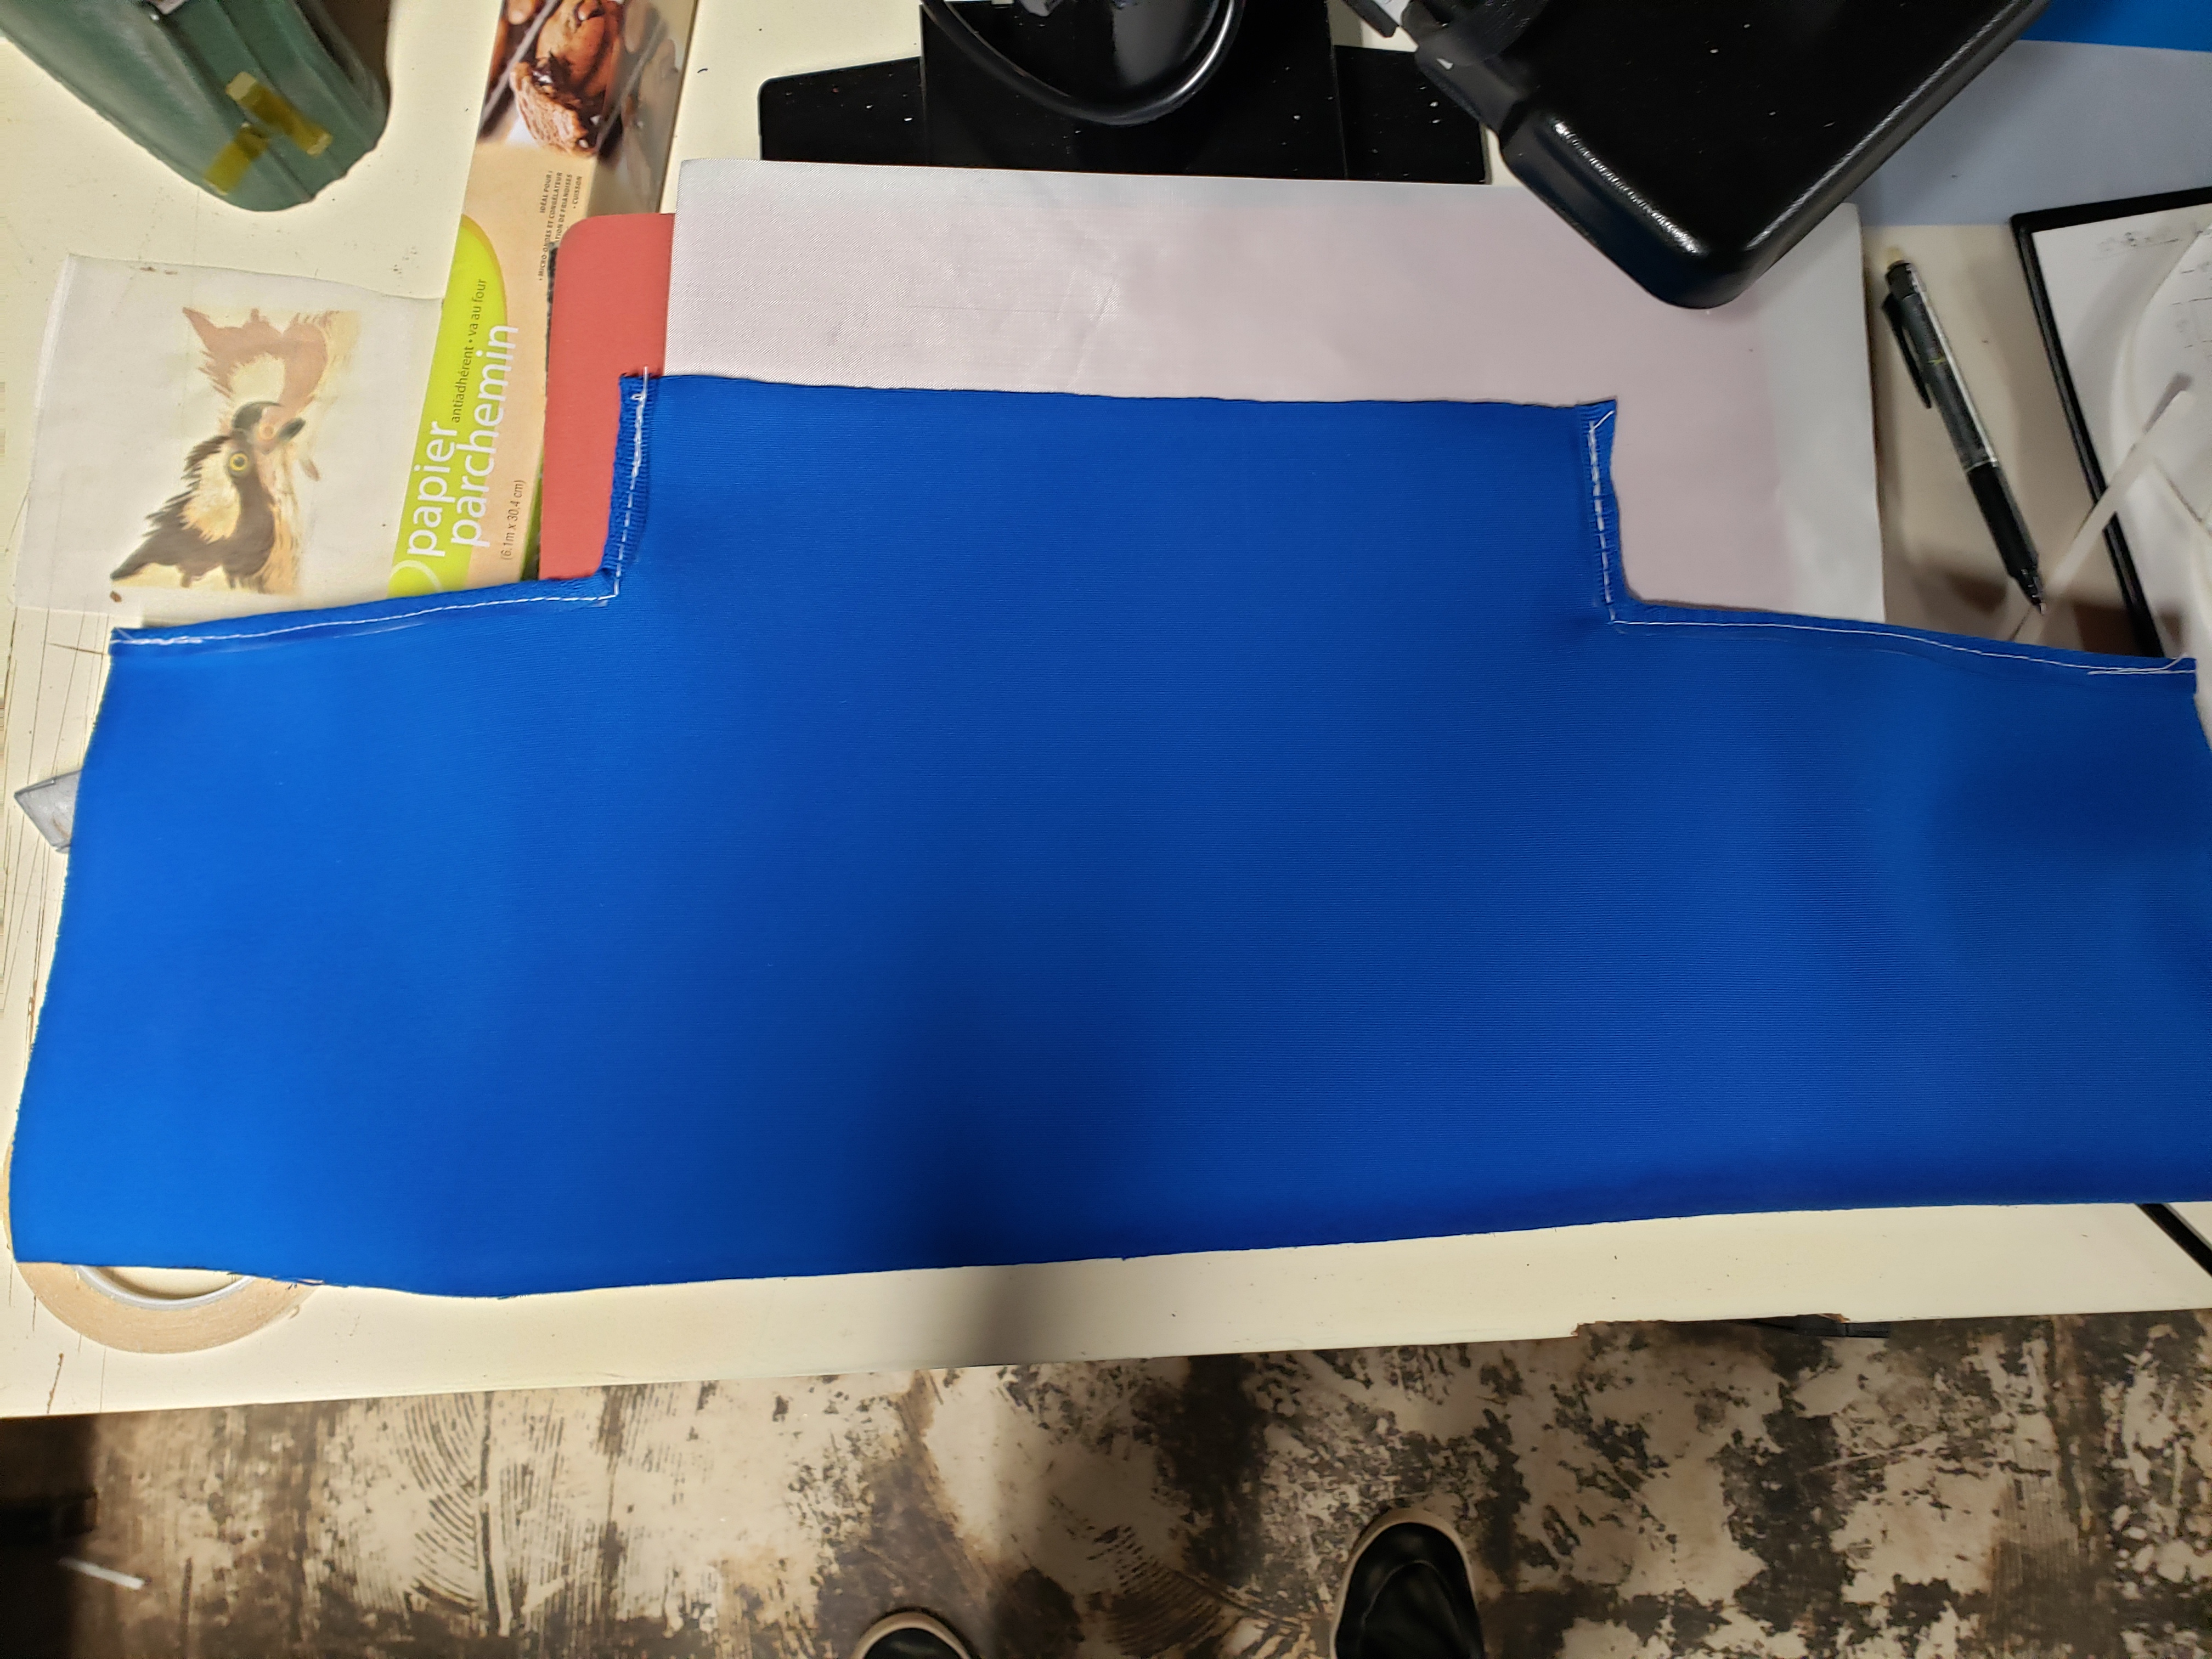
Fold the top down even with the binding line and run a stitch as close to the edge as you can. This forms the pocket for the shock cord tubes.
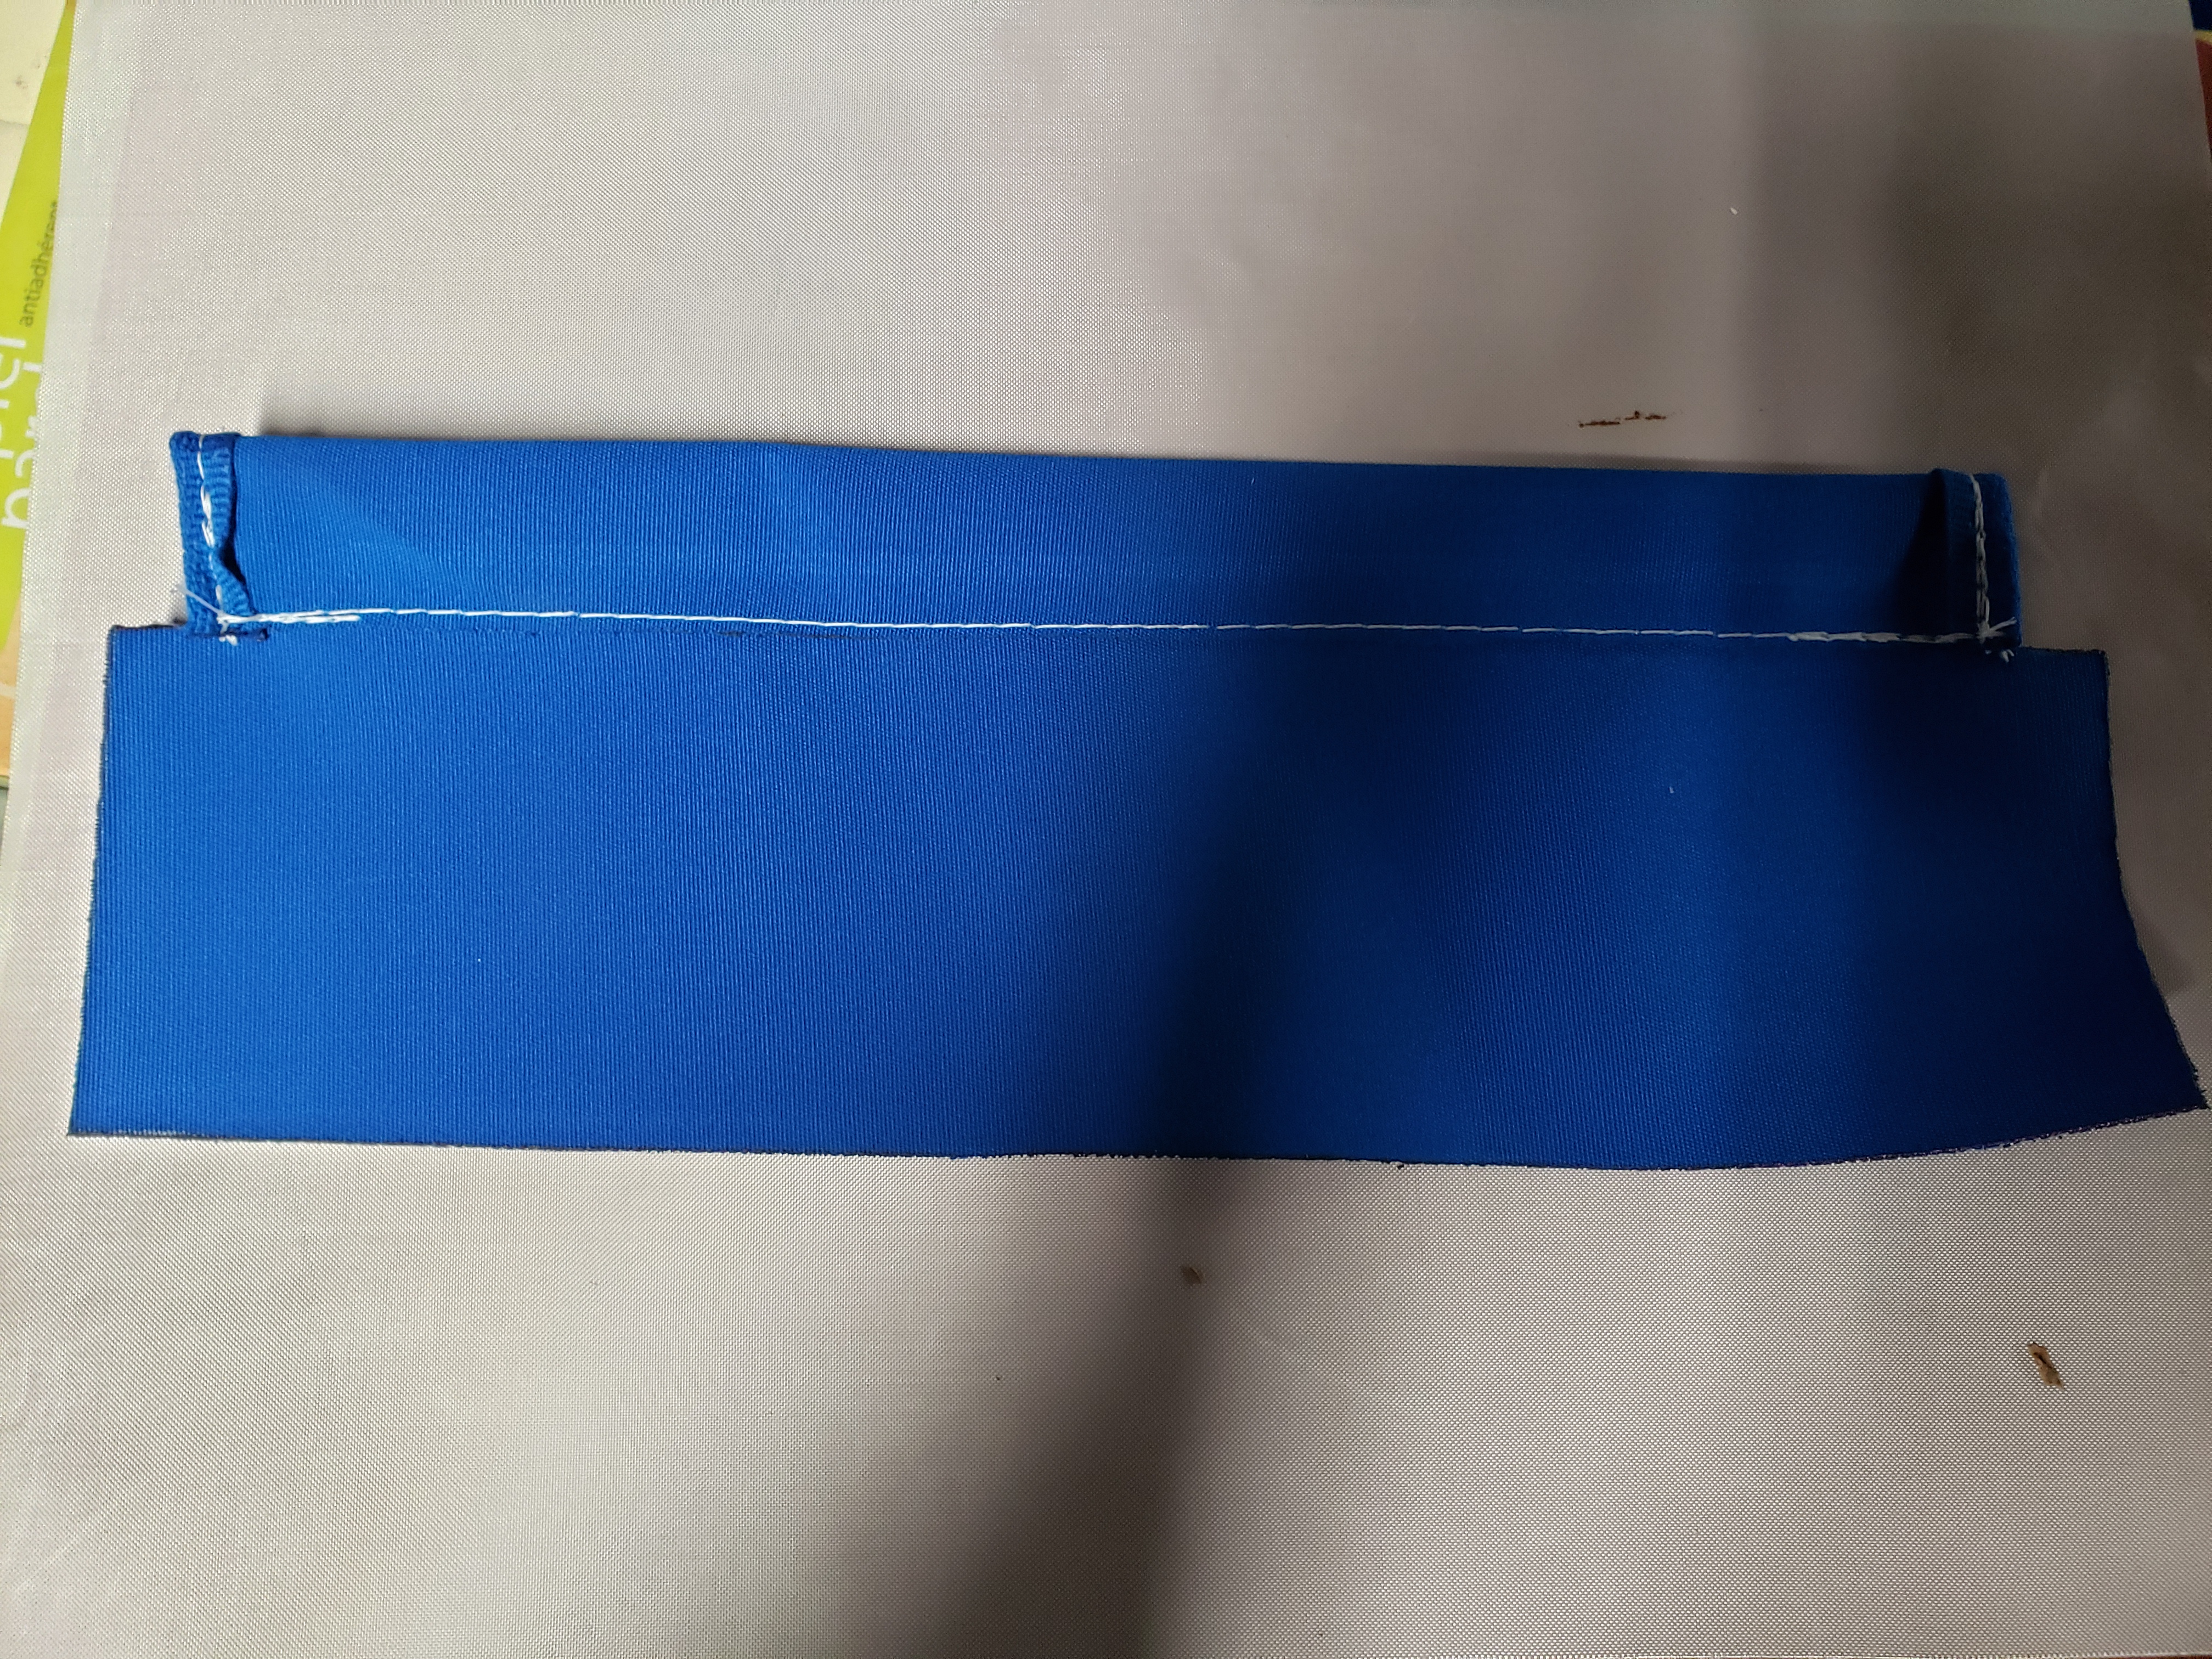
Add a tiny strip of binding to each of the sides of the front panel:
The fold down the top to make a pocket for the shock cord tubes like we did on the front panel:
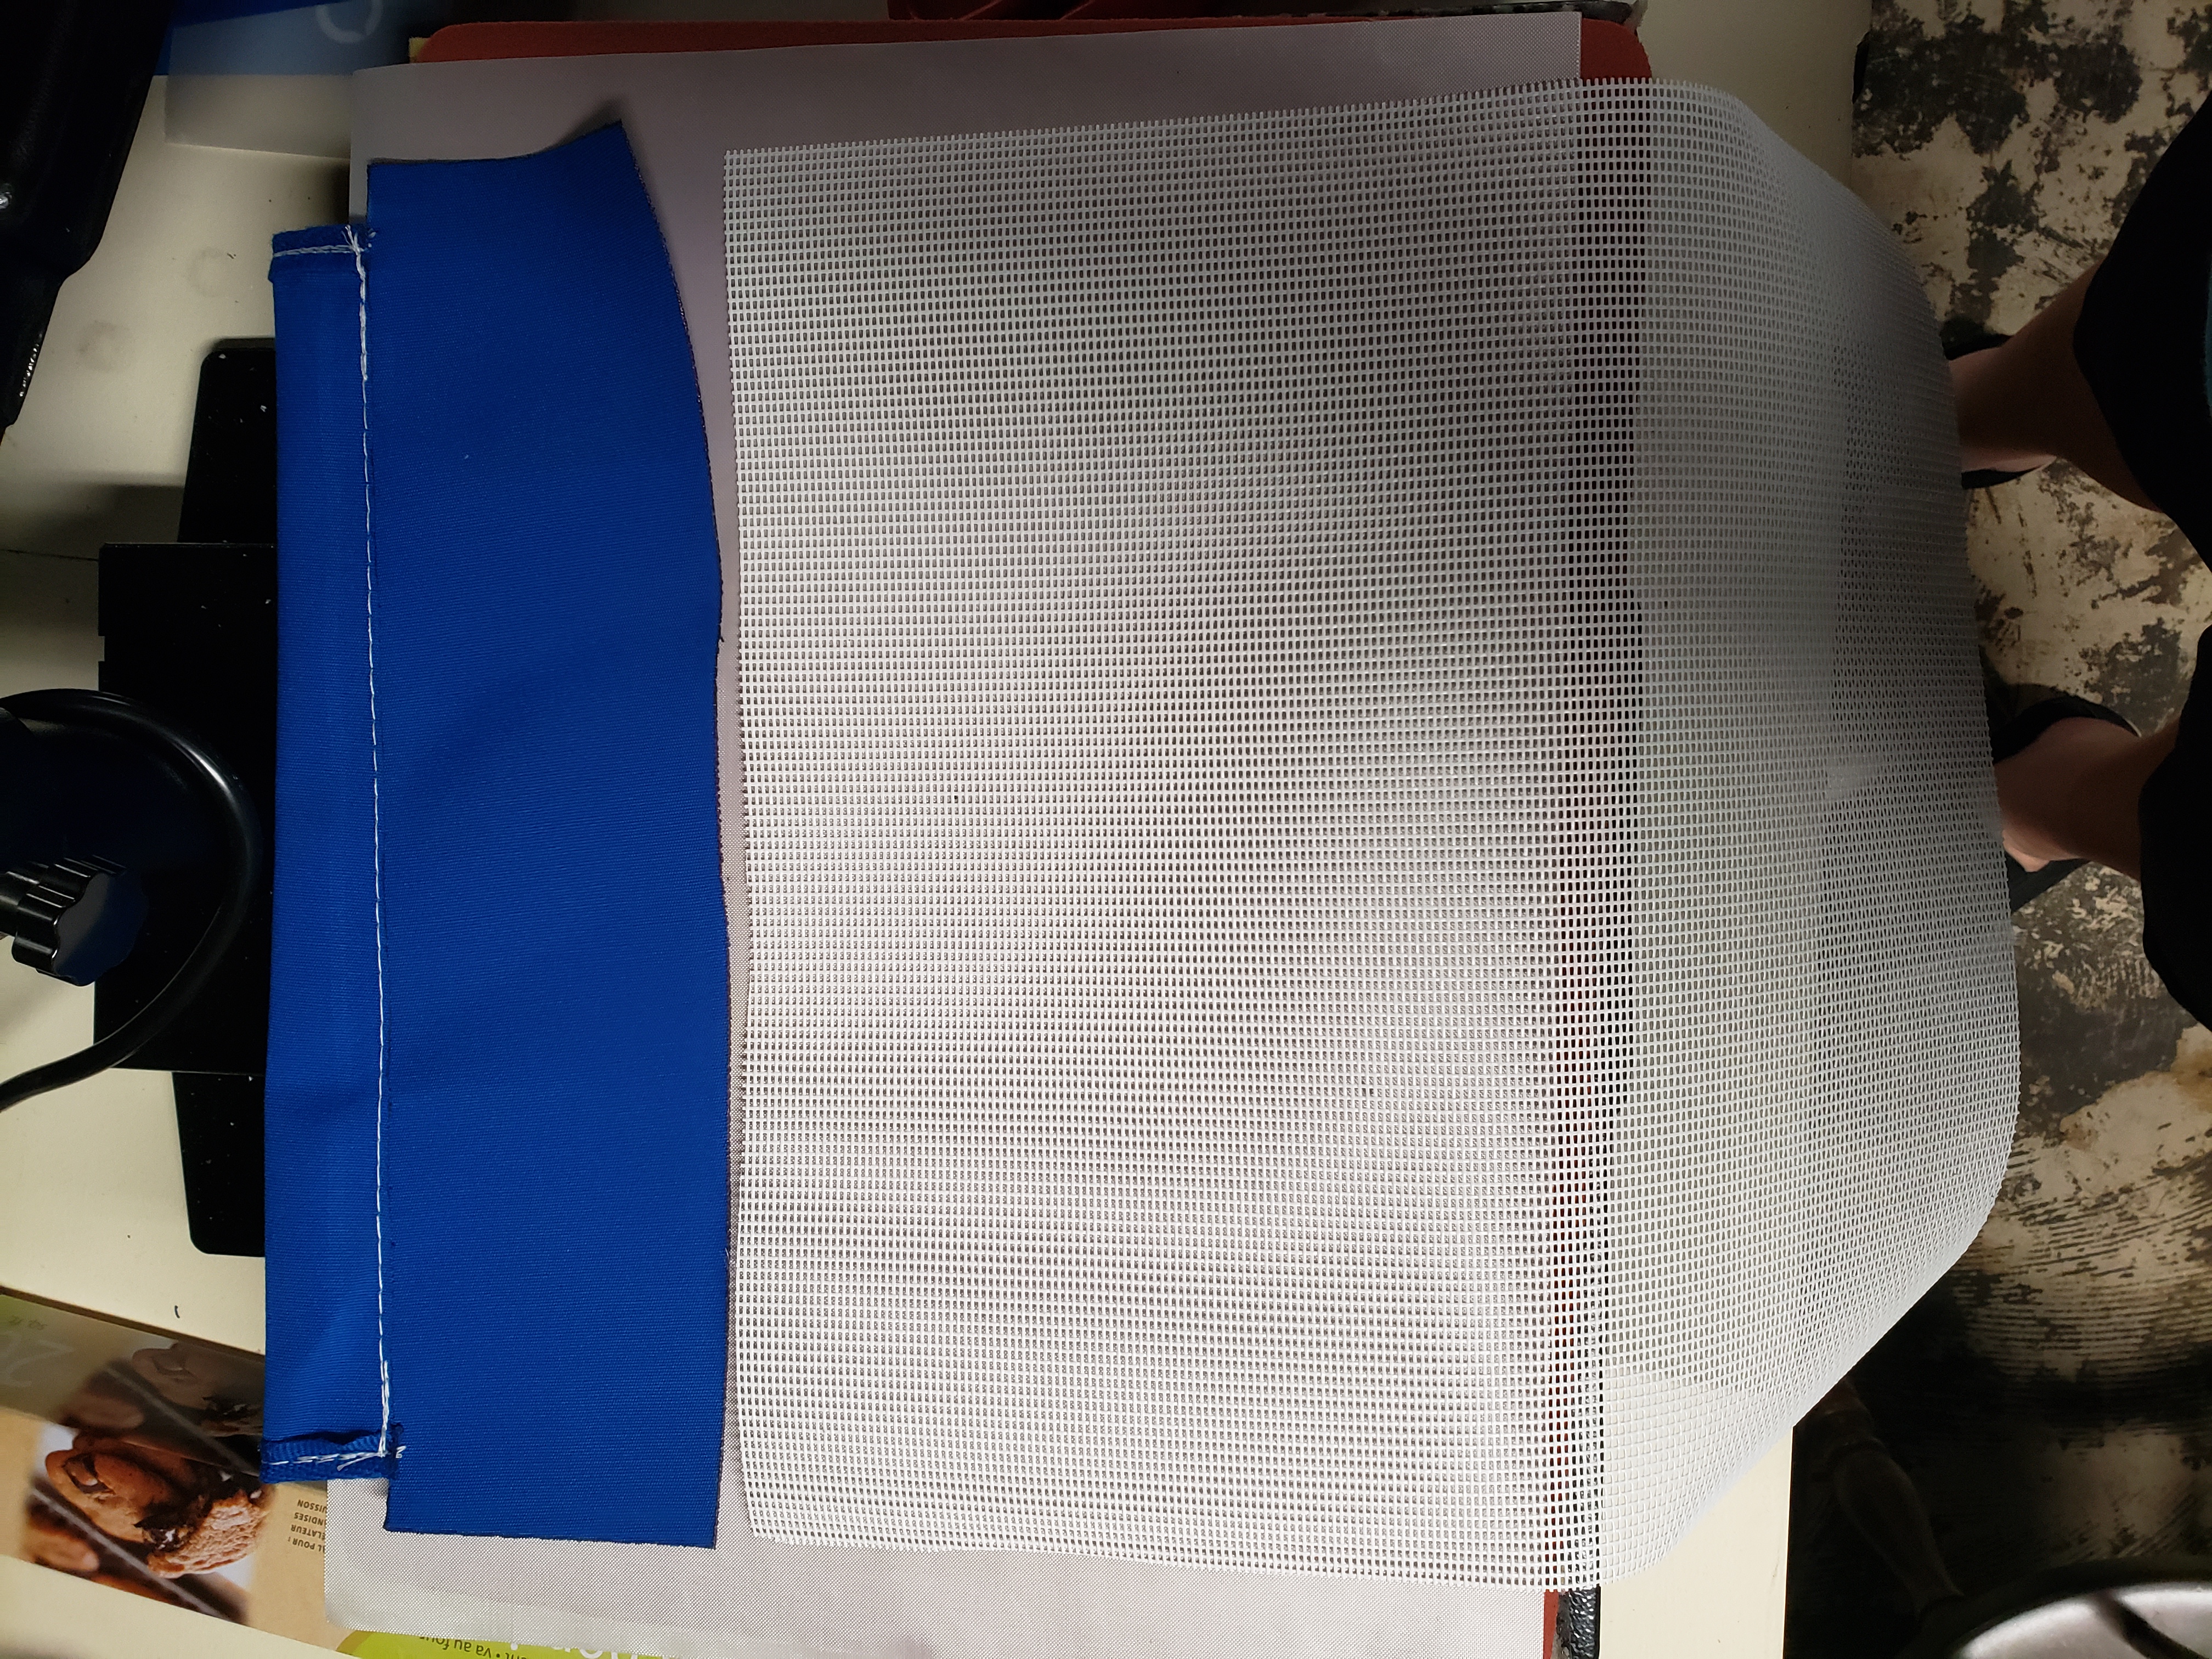
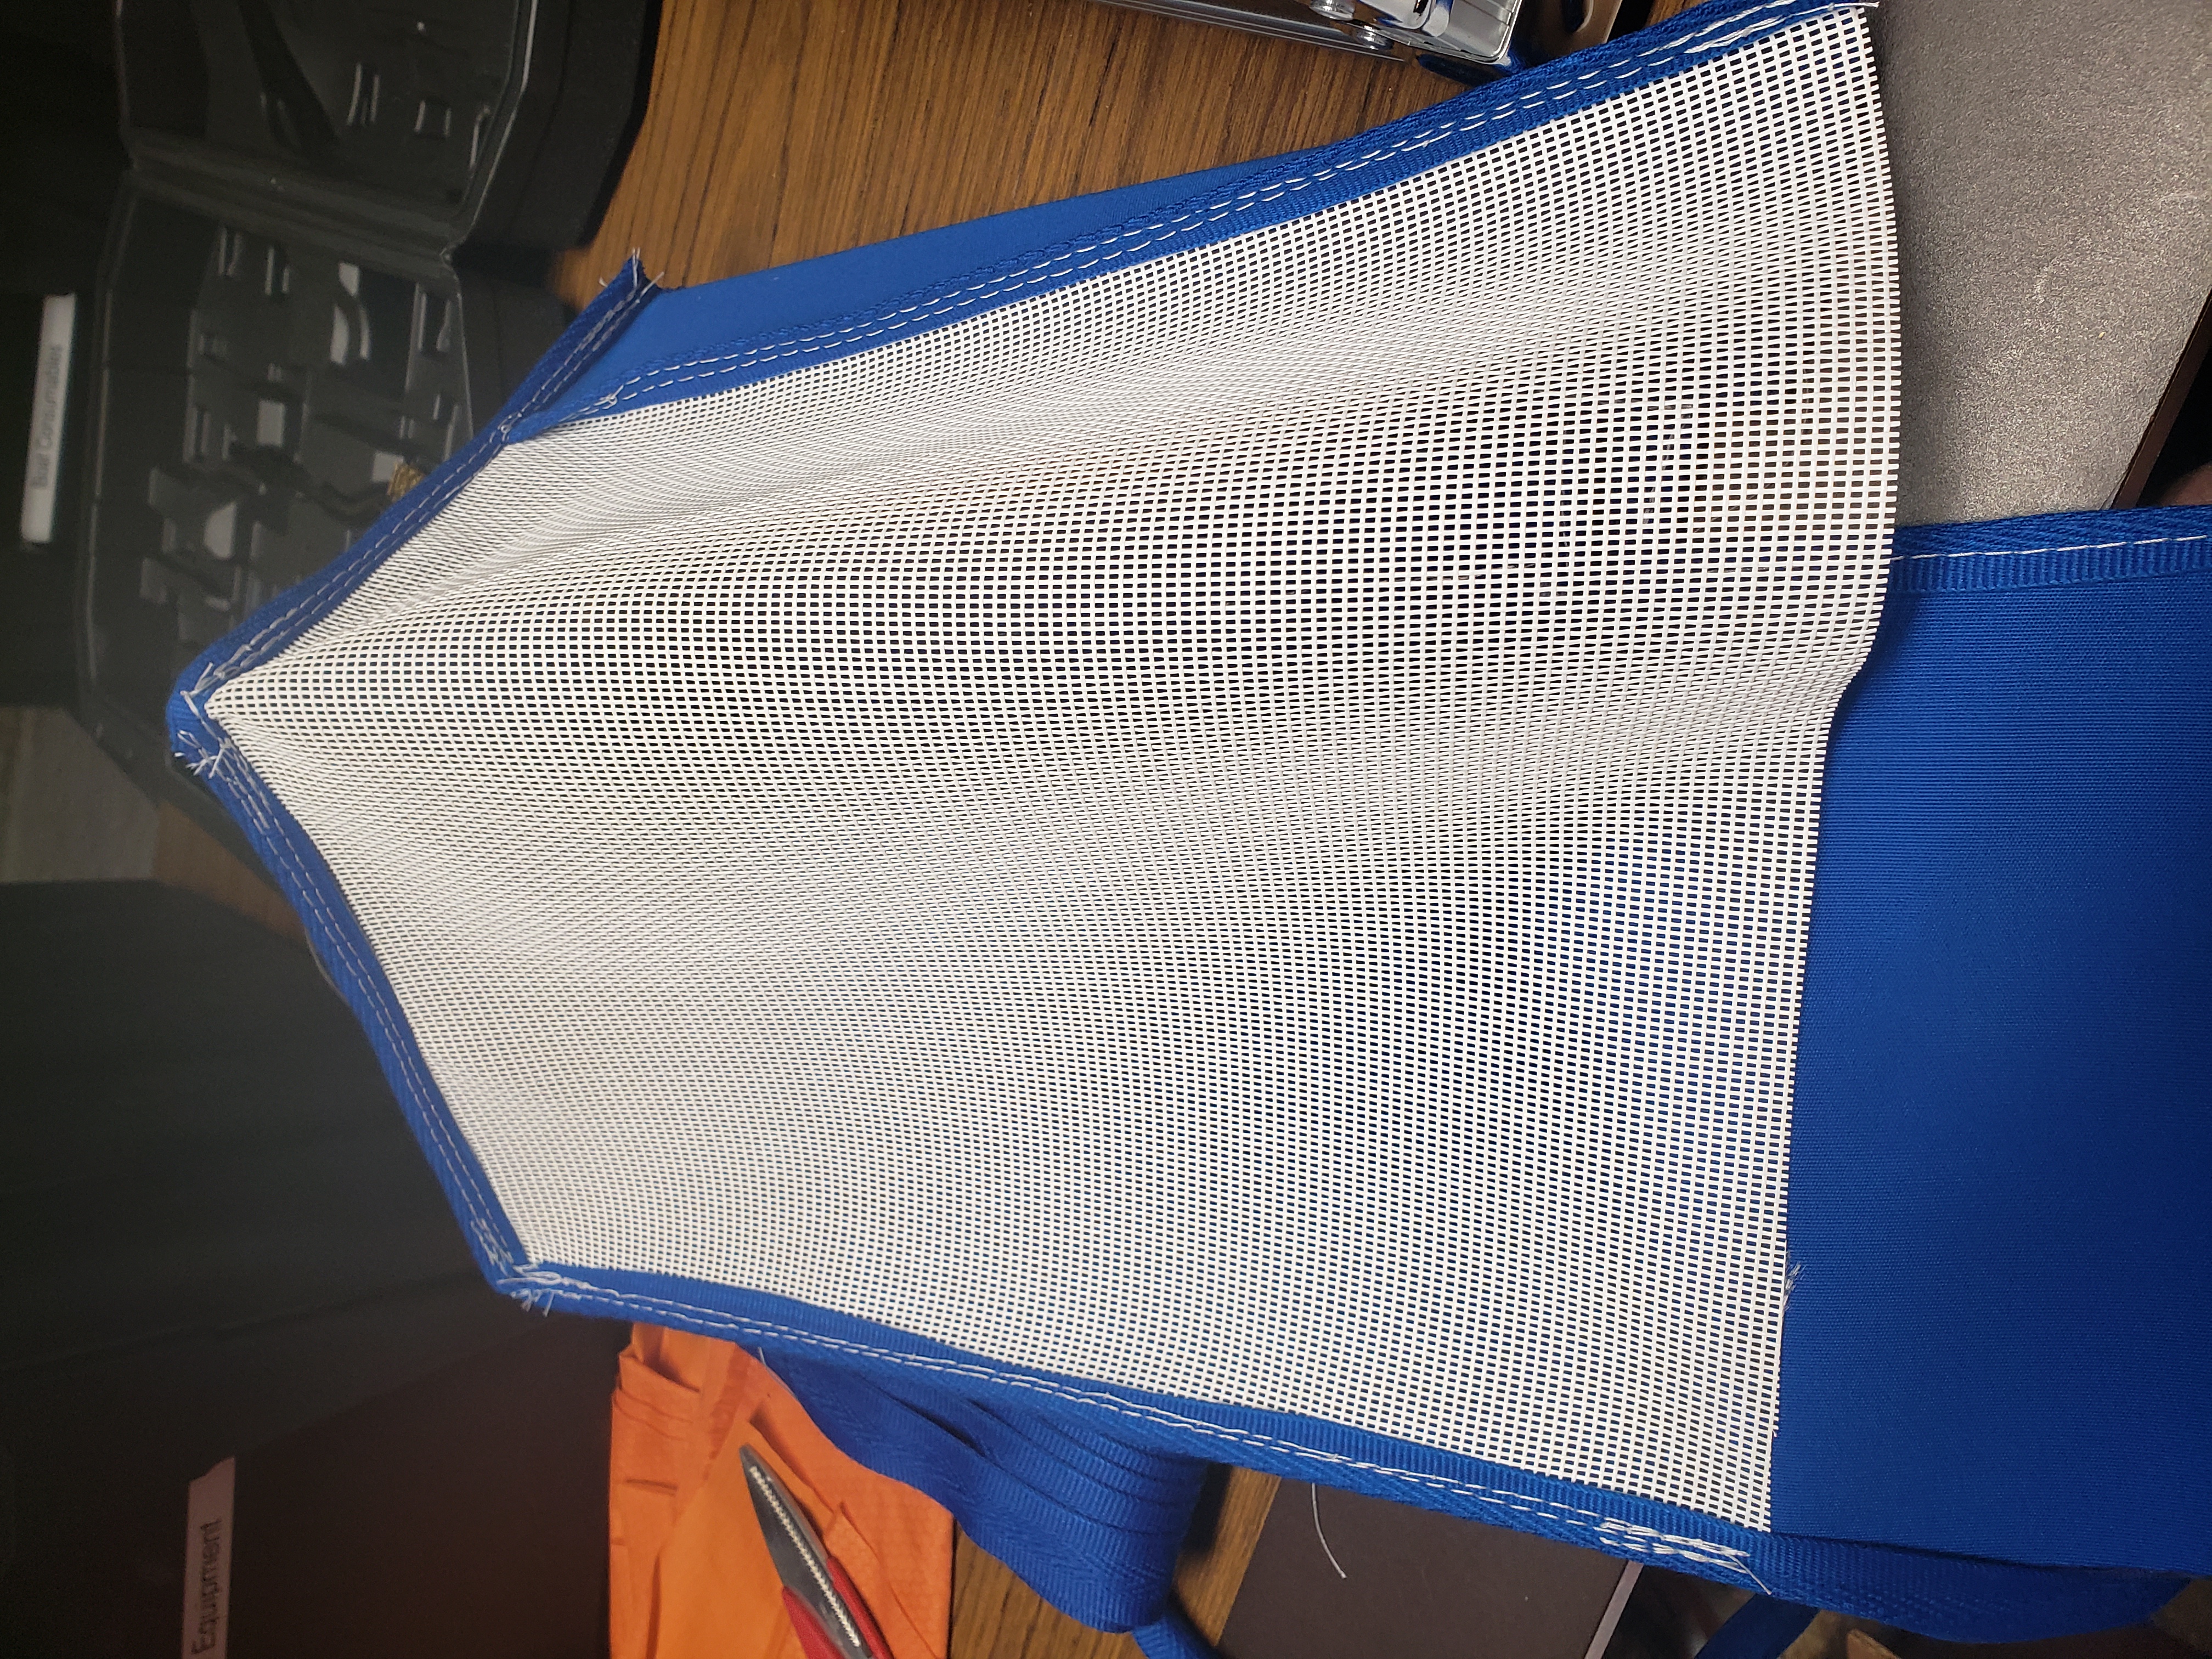
Finally we’ll attach the mesh panel to the bottom part of the front panel. Line up the 13" side (not the 13.5" side):
Pinch the sides together (with the rough side of the pocket facing the same way so they will all be hidden) and sew the binding on. I like to double stitch it as I found this part wasn’t holding on my first version:
Going 3D
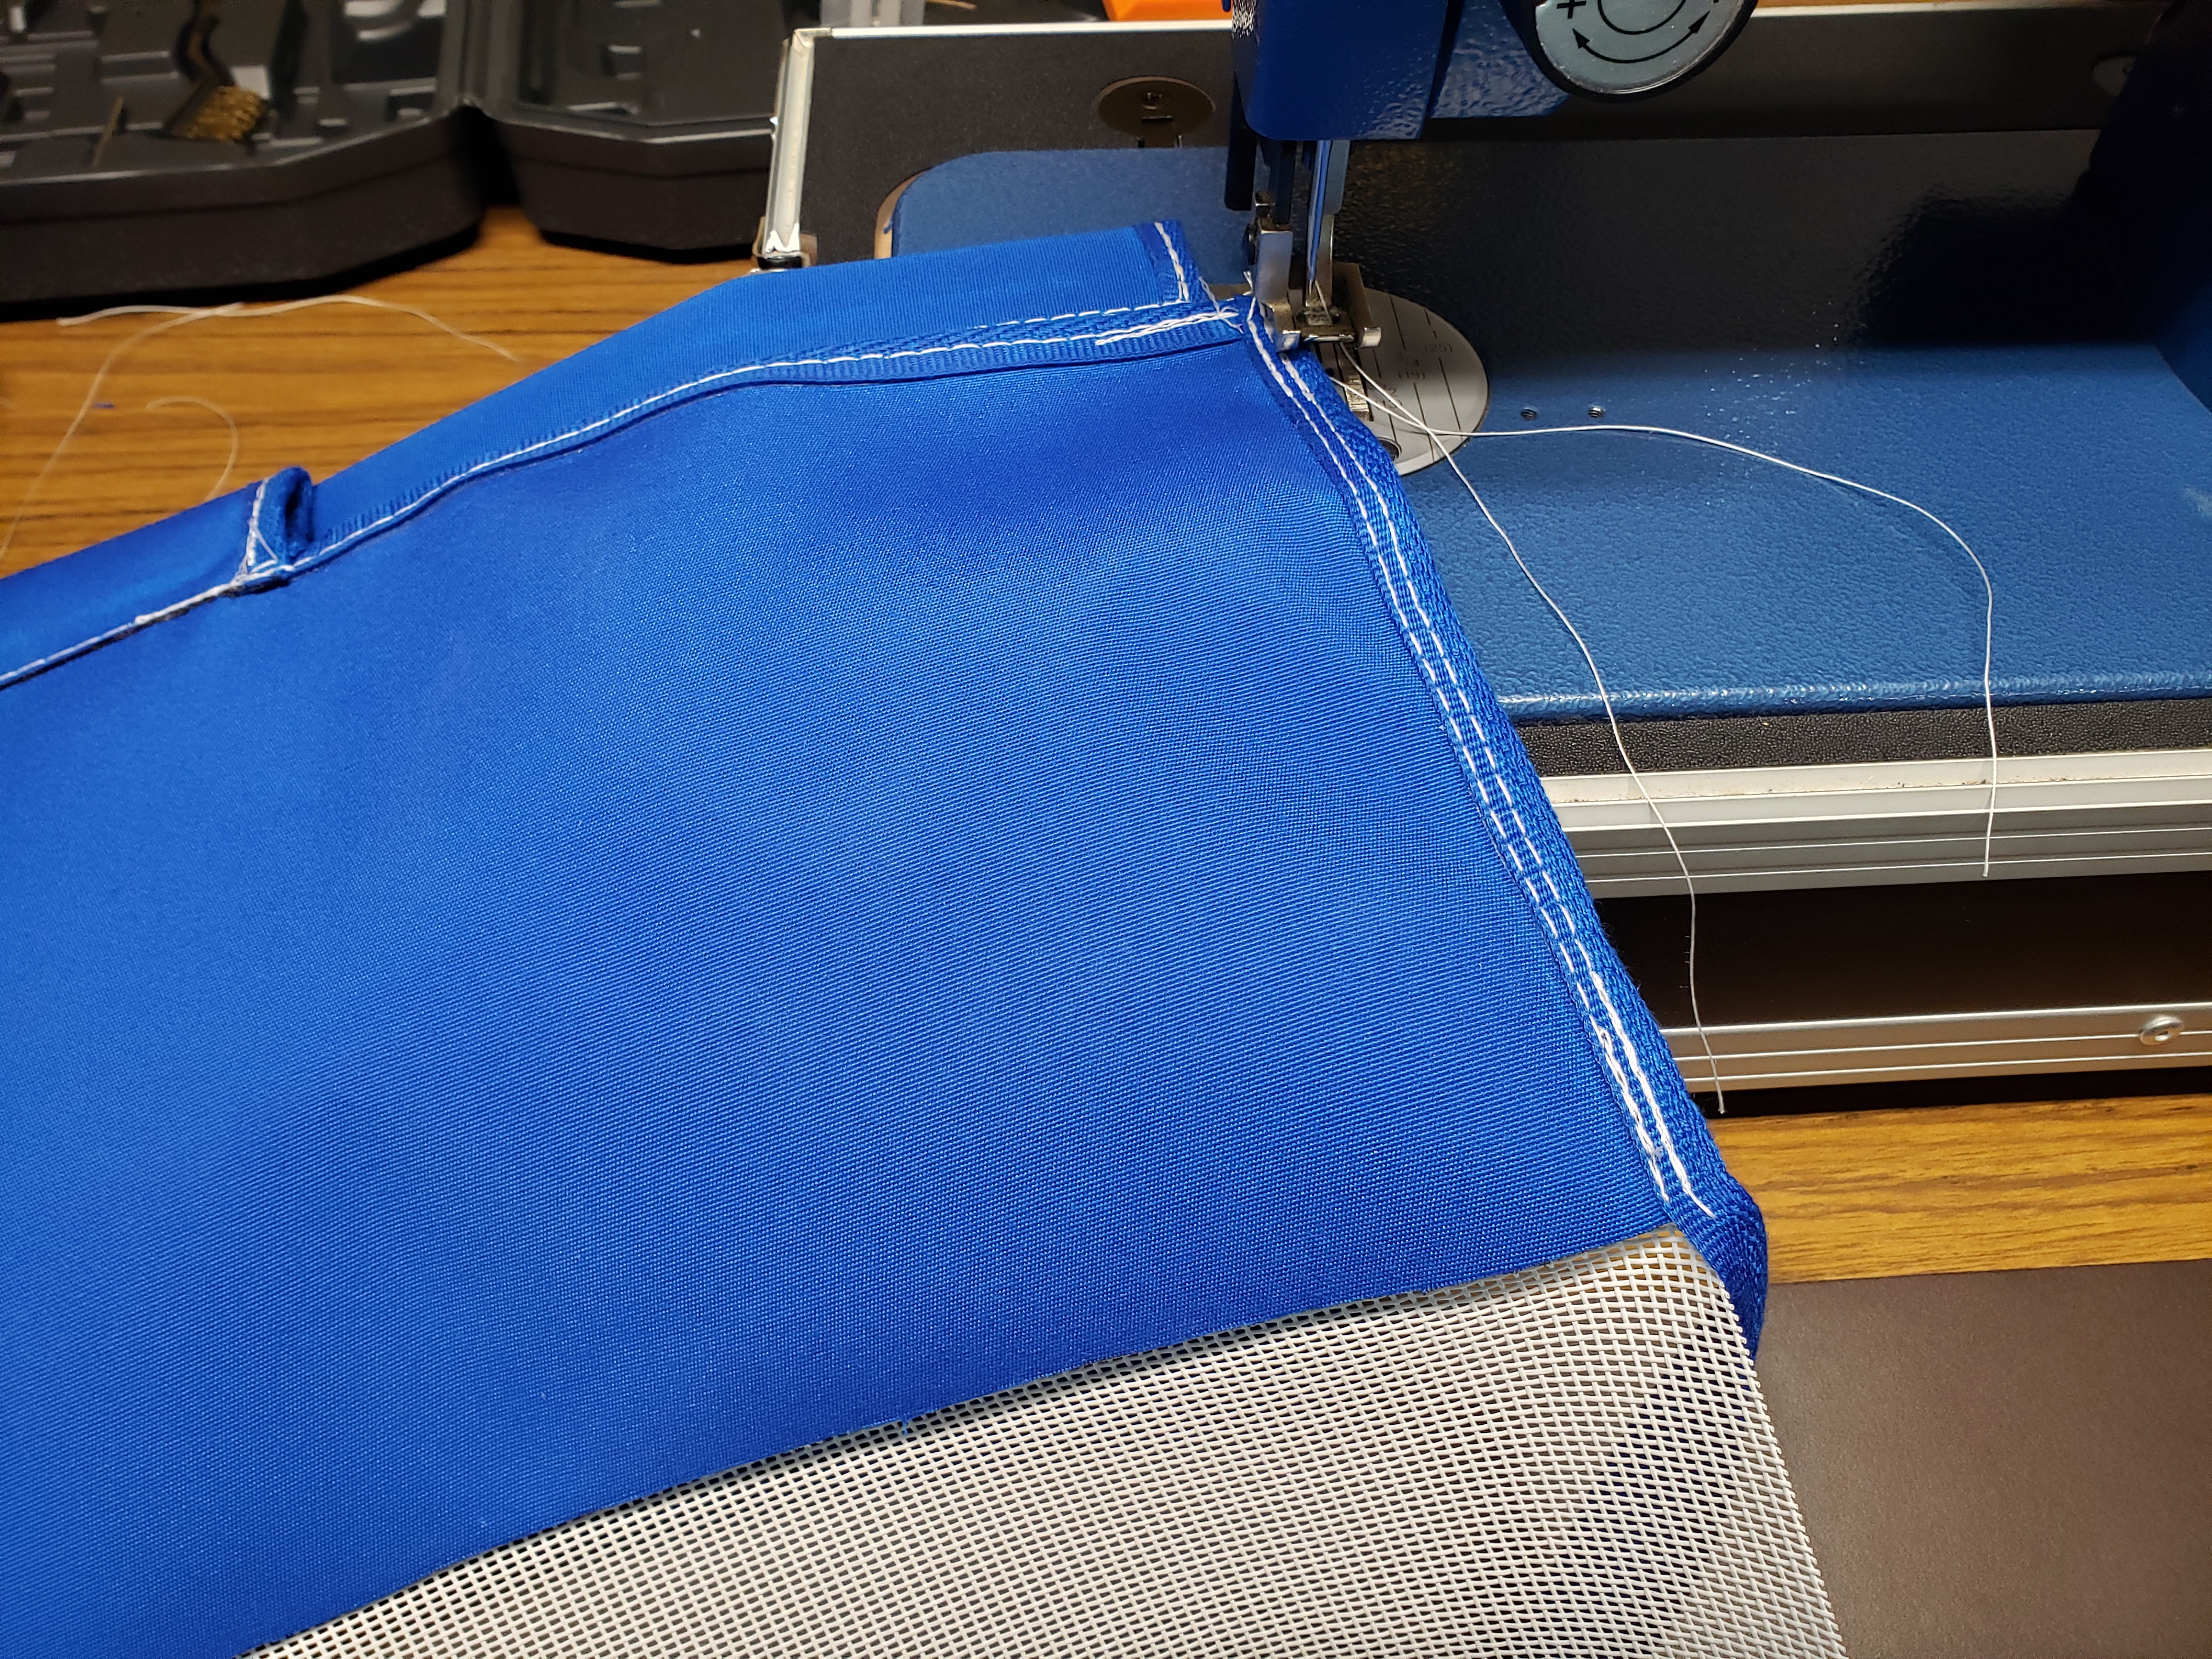
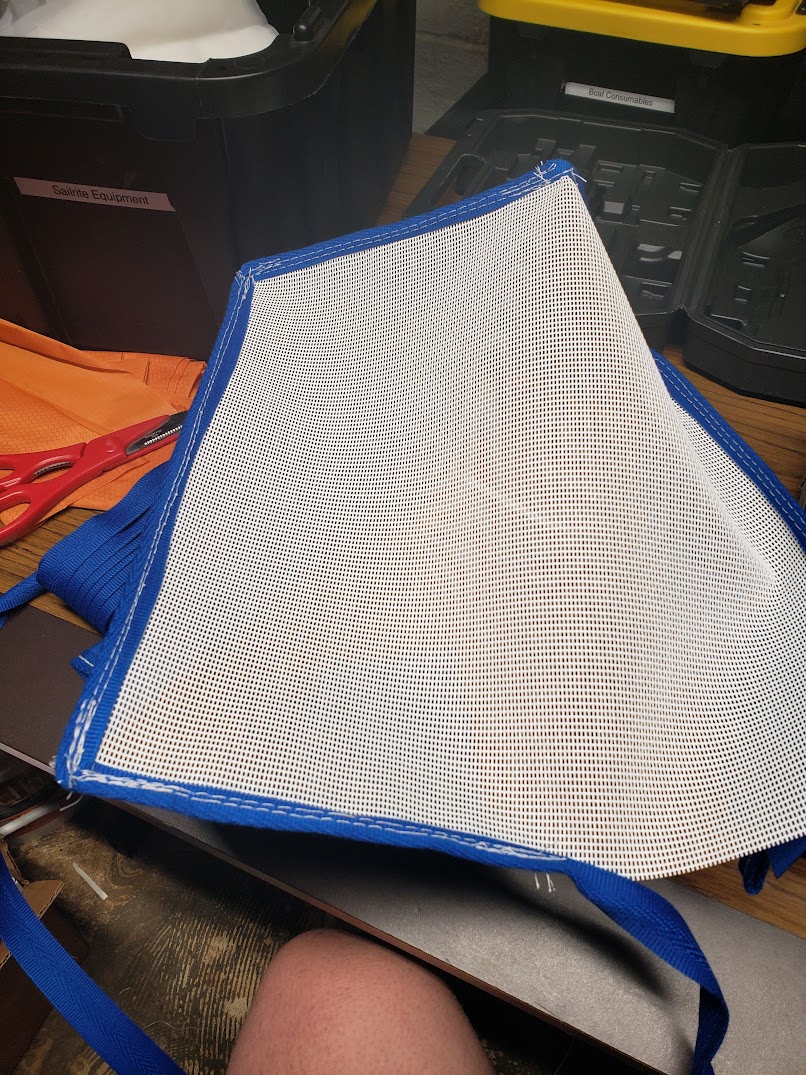
Now this is easily the toughest part and I don’t want this to be a "draw the rest of the owl" moment so I’ll do my best to detail it. Basically we’re going to sew binding around all the remaining edges to make an inside out version of the bag. Keep the rough side of the pockets out as we’ll be flipping this bag once we’re done putting it together.
I like to use a single piece of binding all around but sew each edge separately, doubling back to keep the thread from pulling out. I use copious amounts of basting tape to keep everything in place. One piece to hold the edges together and a piece on each side to hold the binding in place.
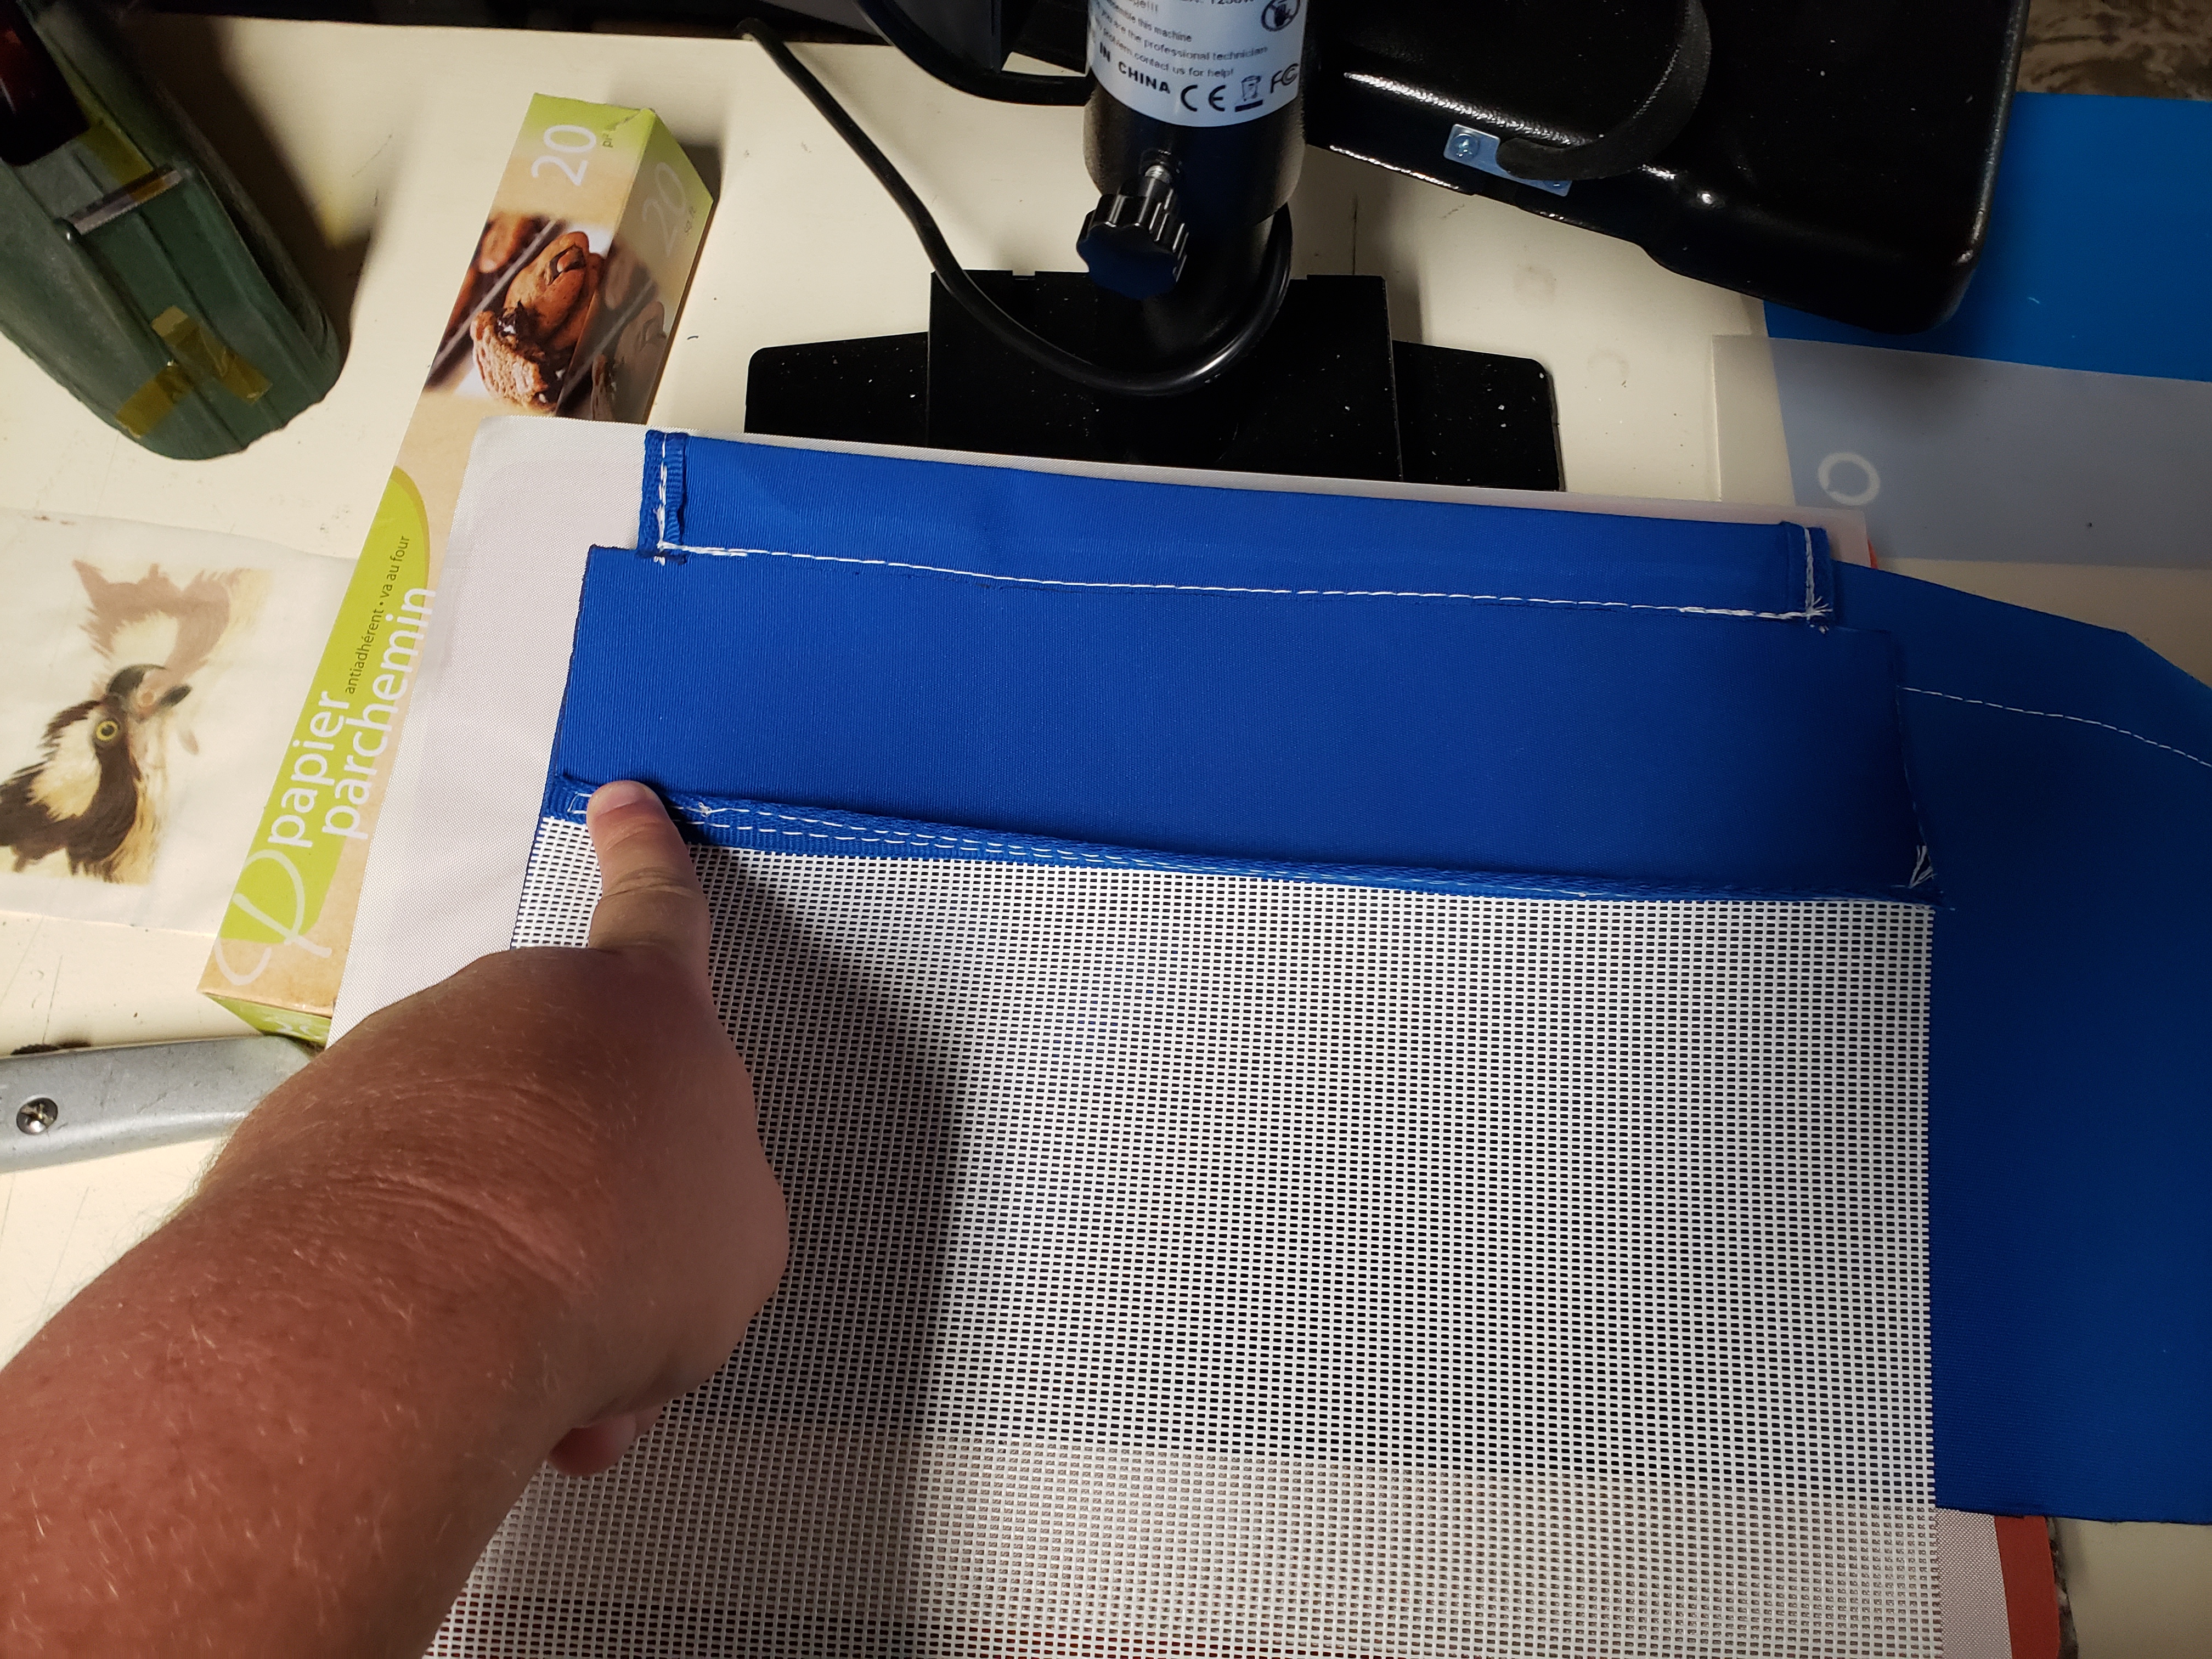
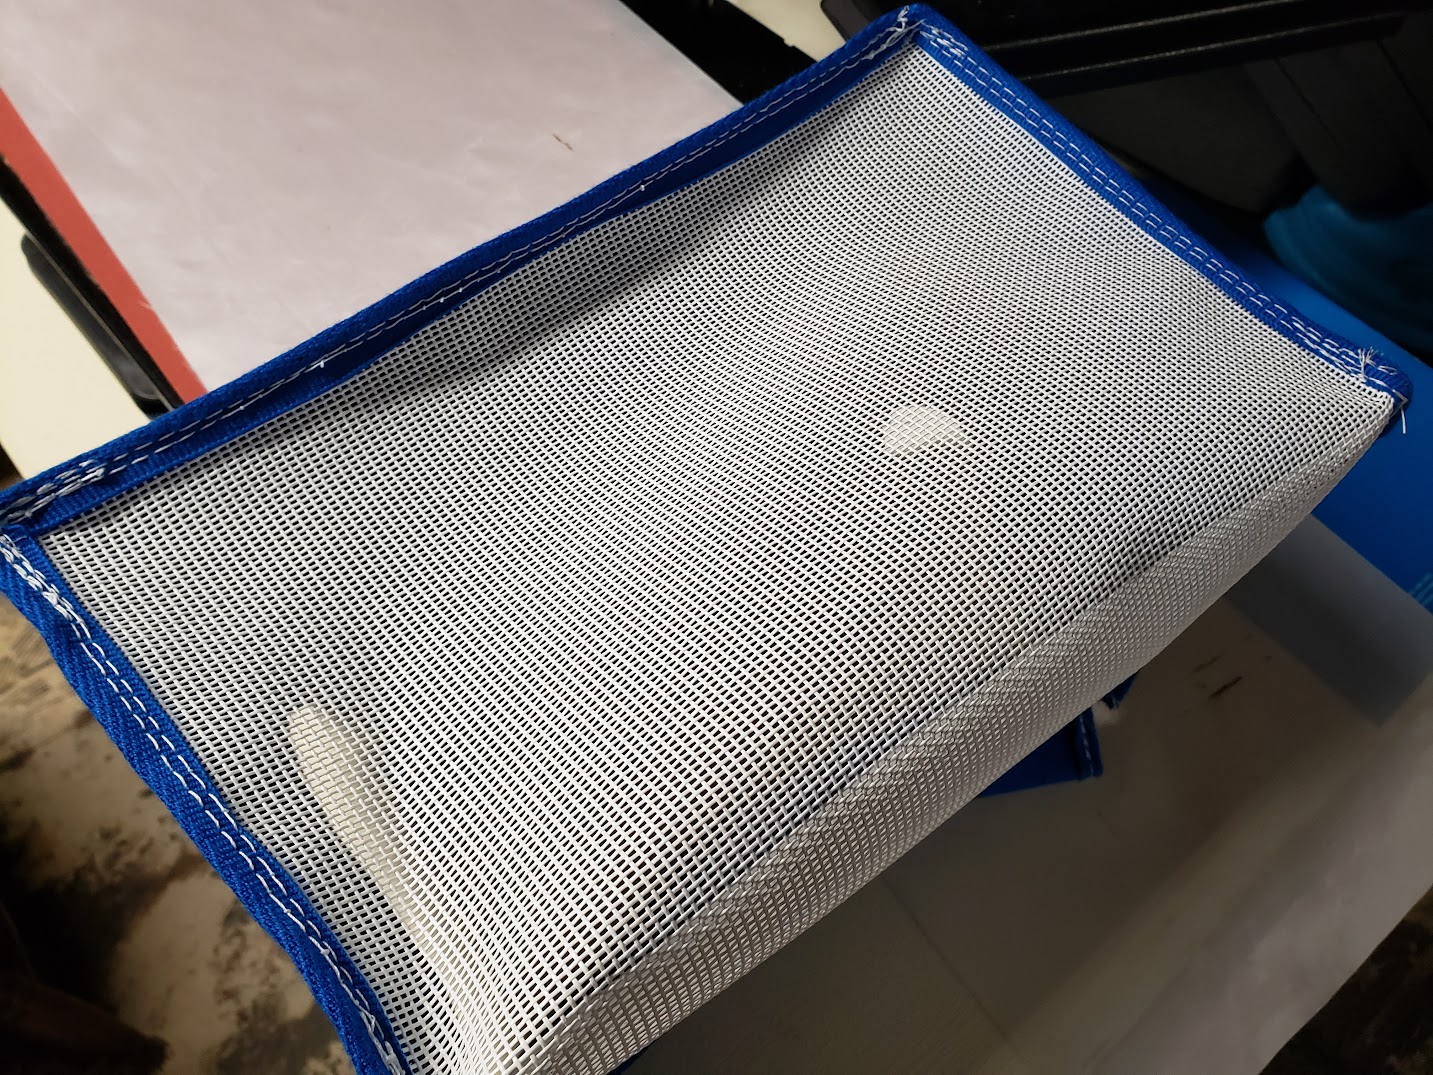
Here’s a picture of me lining up the edges I start on. I’m pointing to a seam that you will want to put down so that it doesn’t catch on things people put in the bag. Right now it’s up under my finger but I’ll fix that when I tape it up:
For these bindings I like to do a double stitch, stopping at each corner to line the next set of edges up:
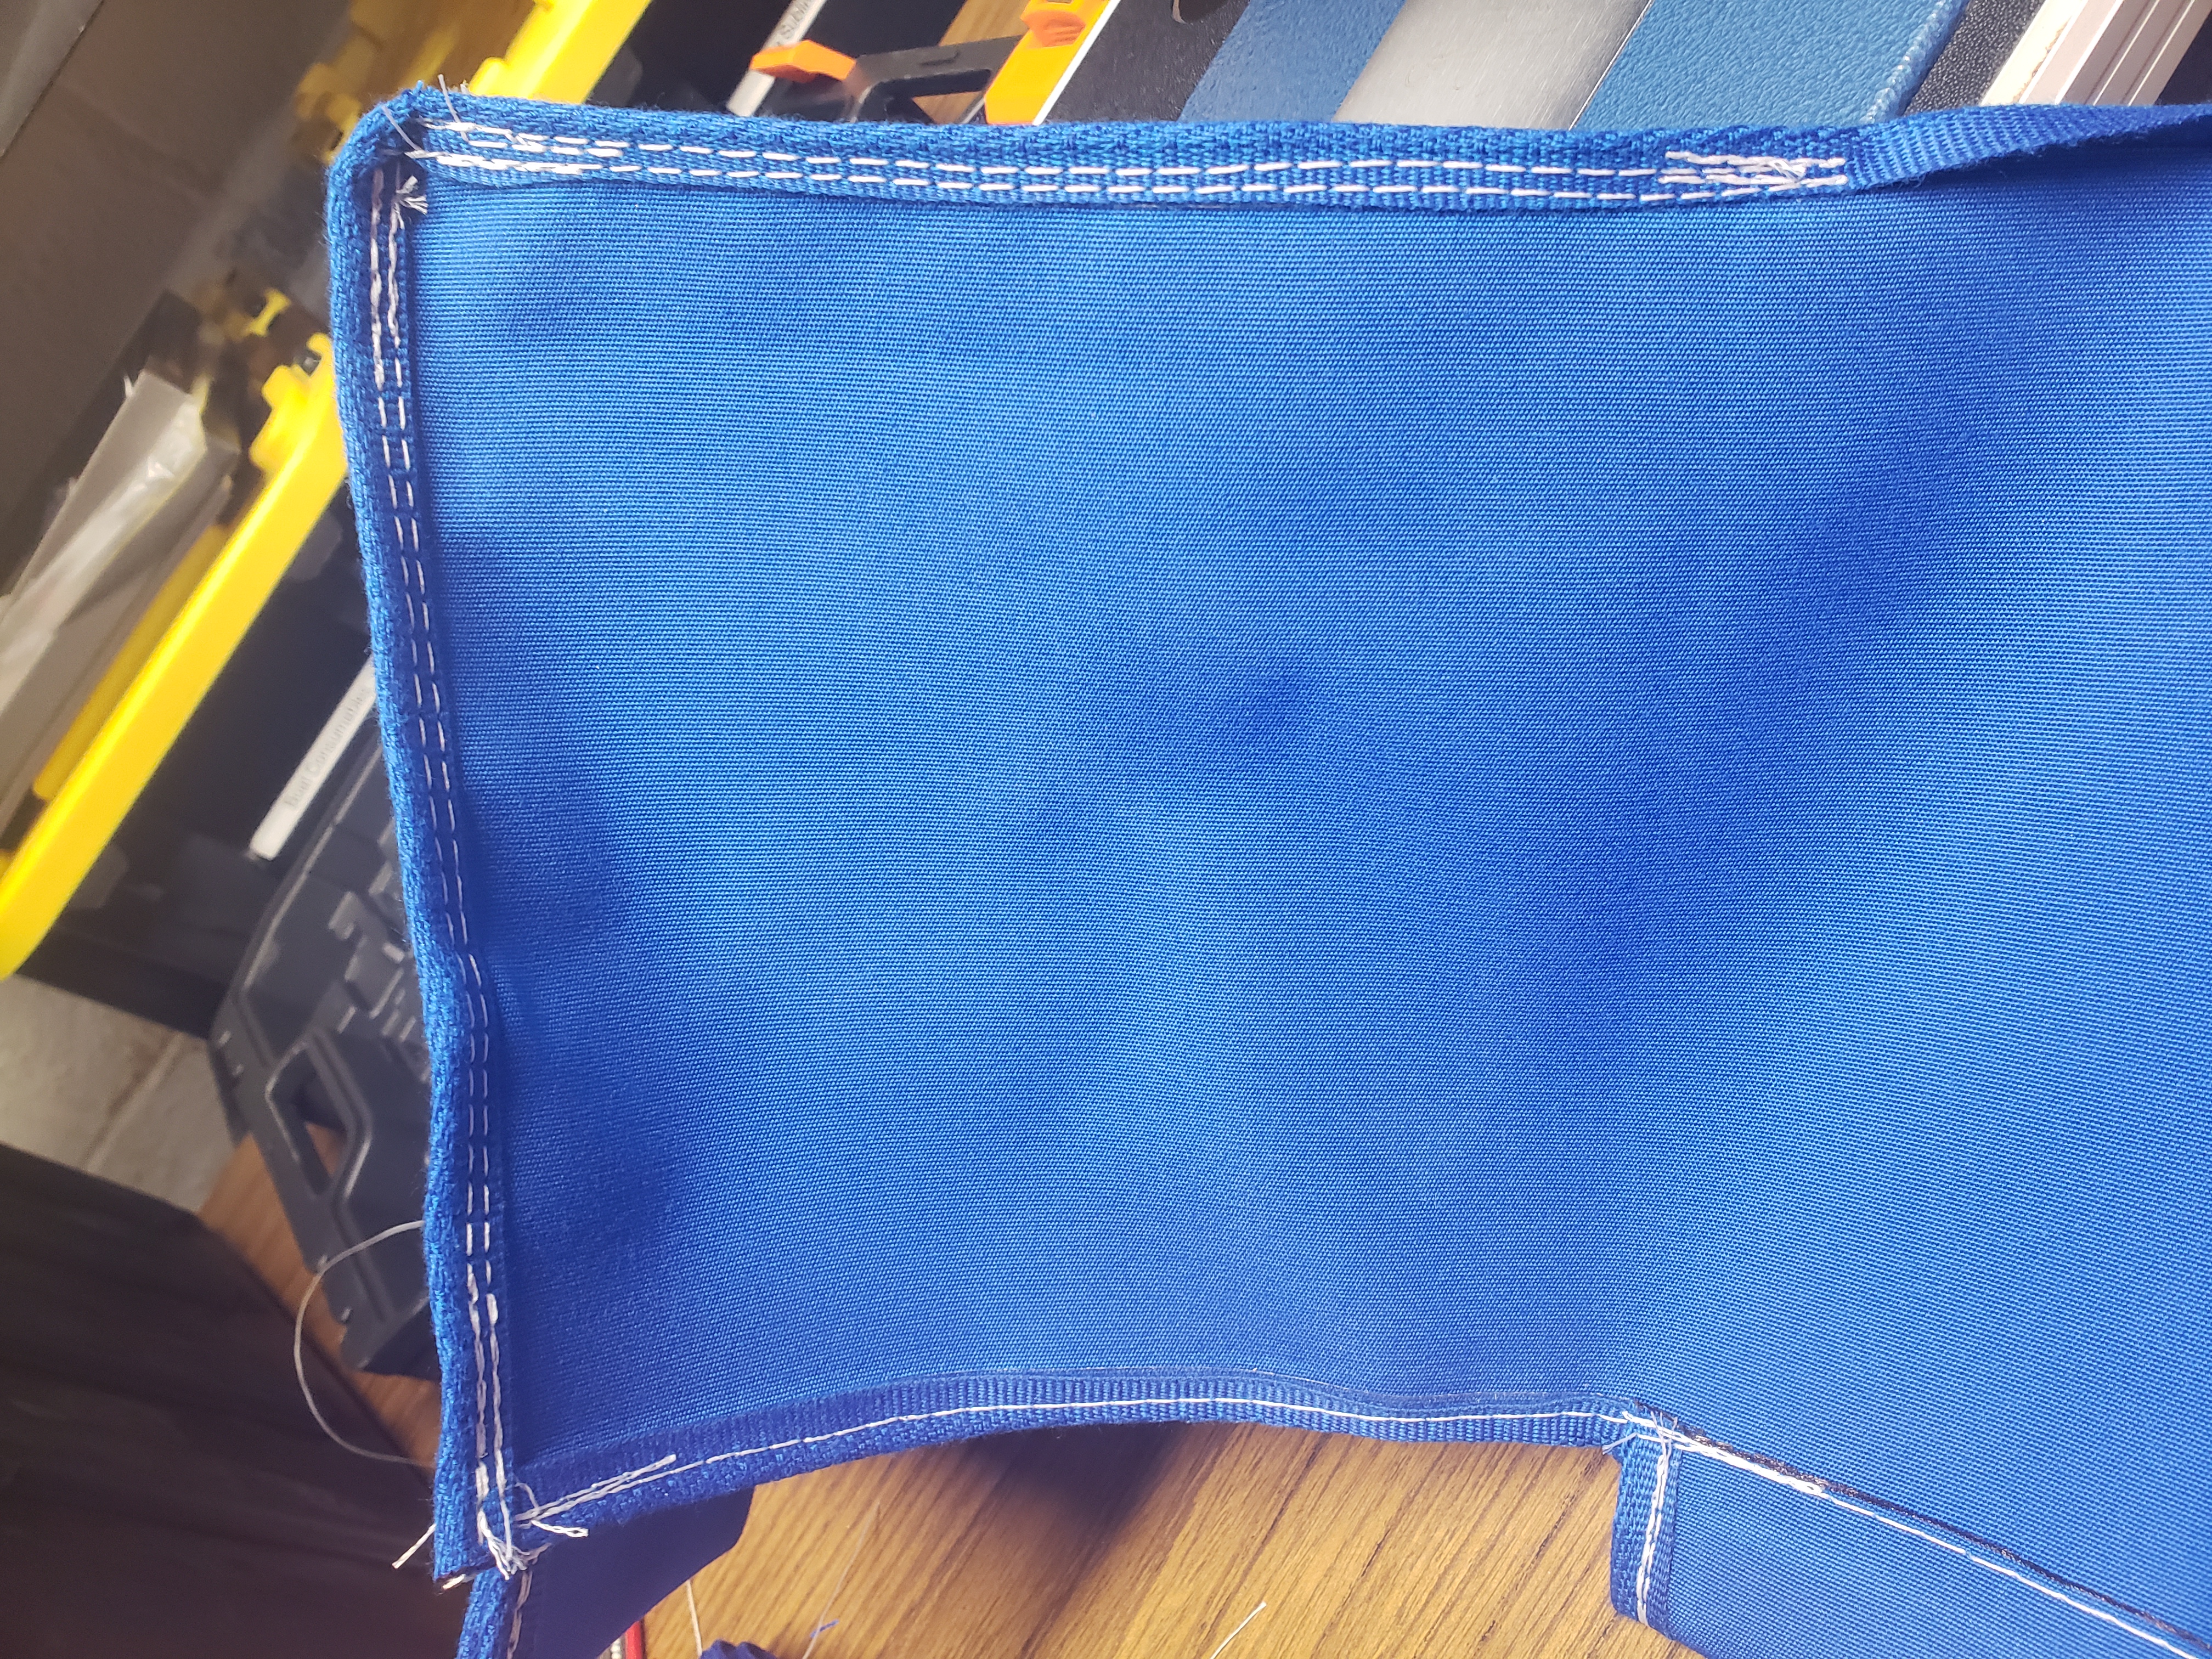
Now you can flip it right-side out.
Hardware and Assembly
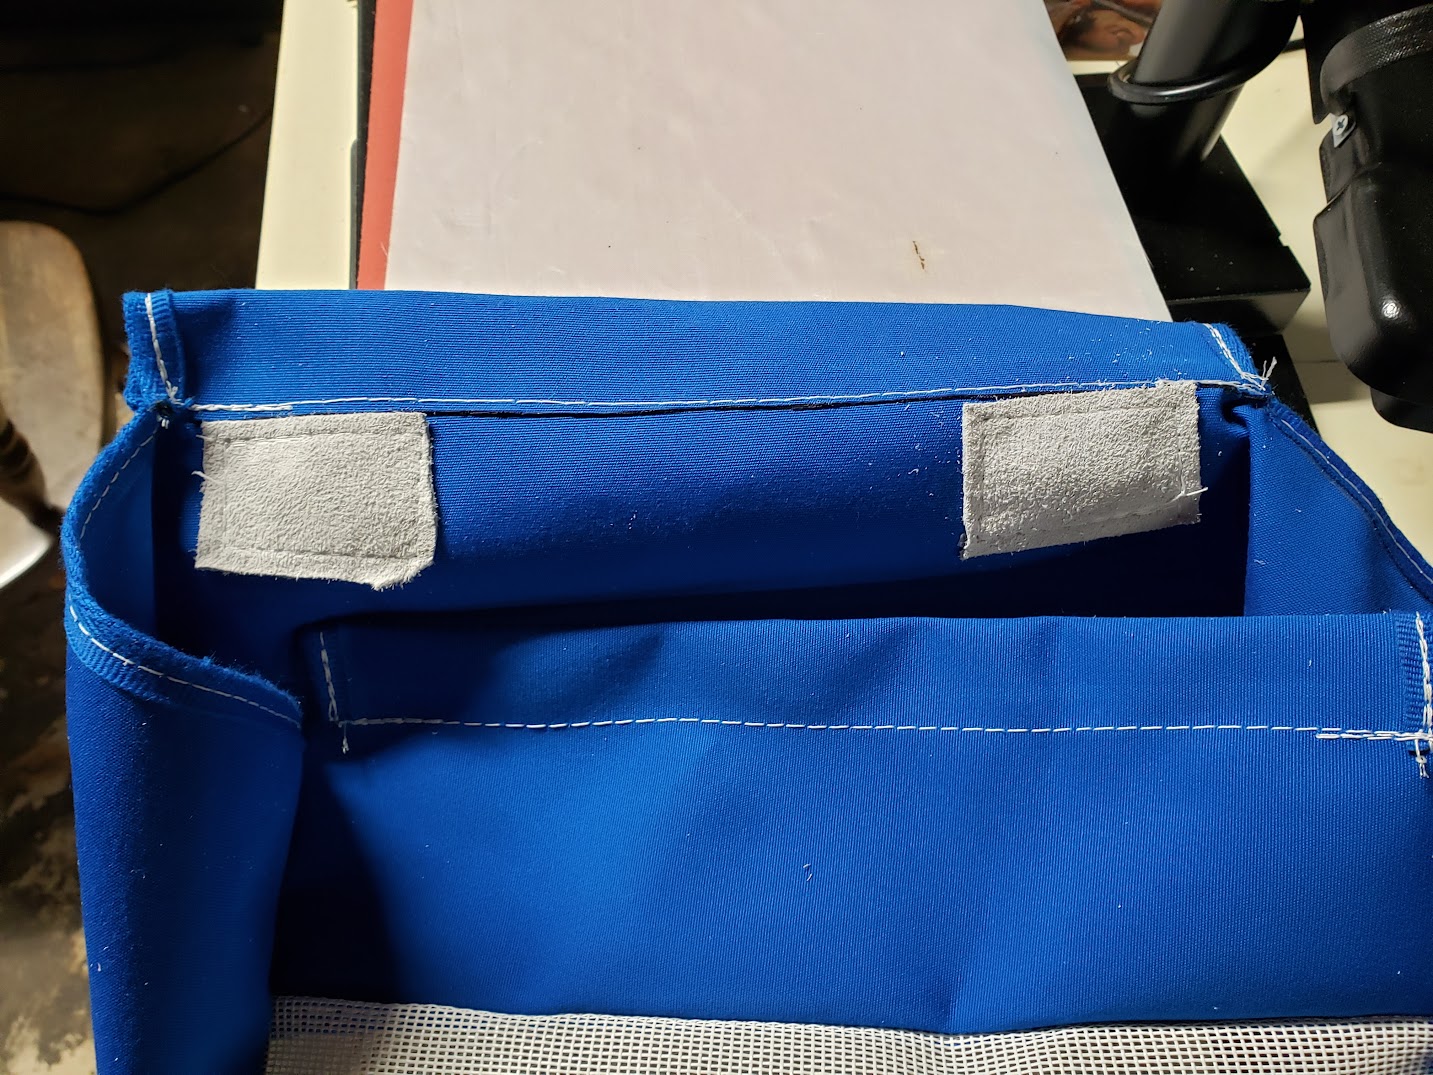
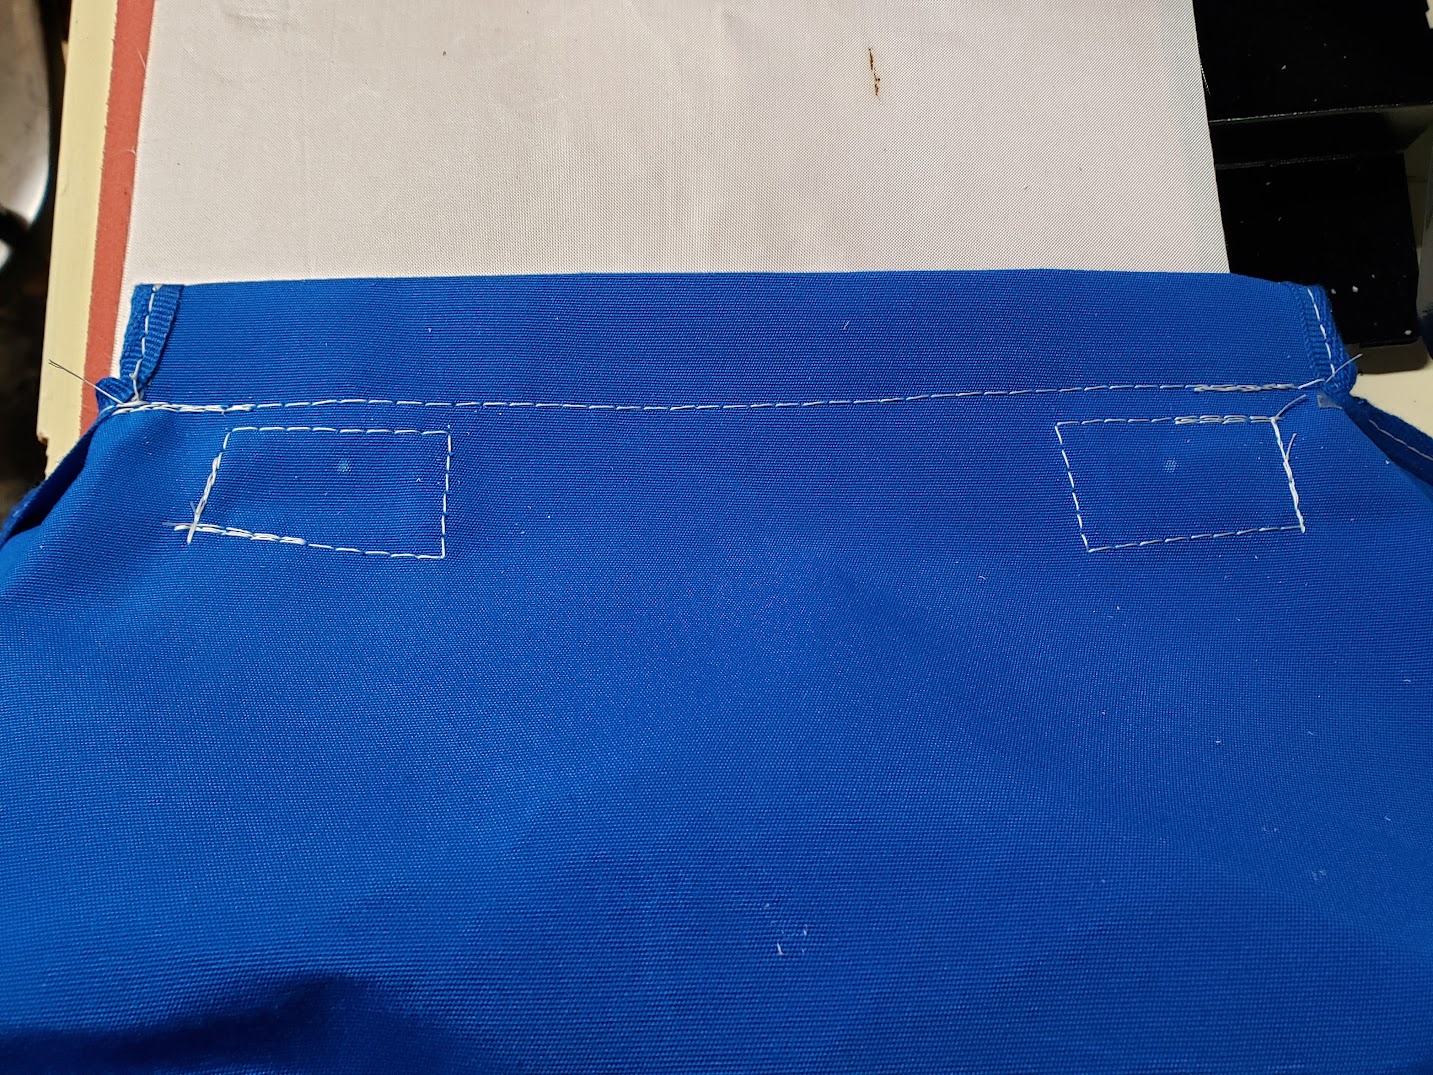
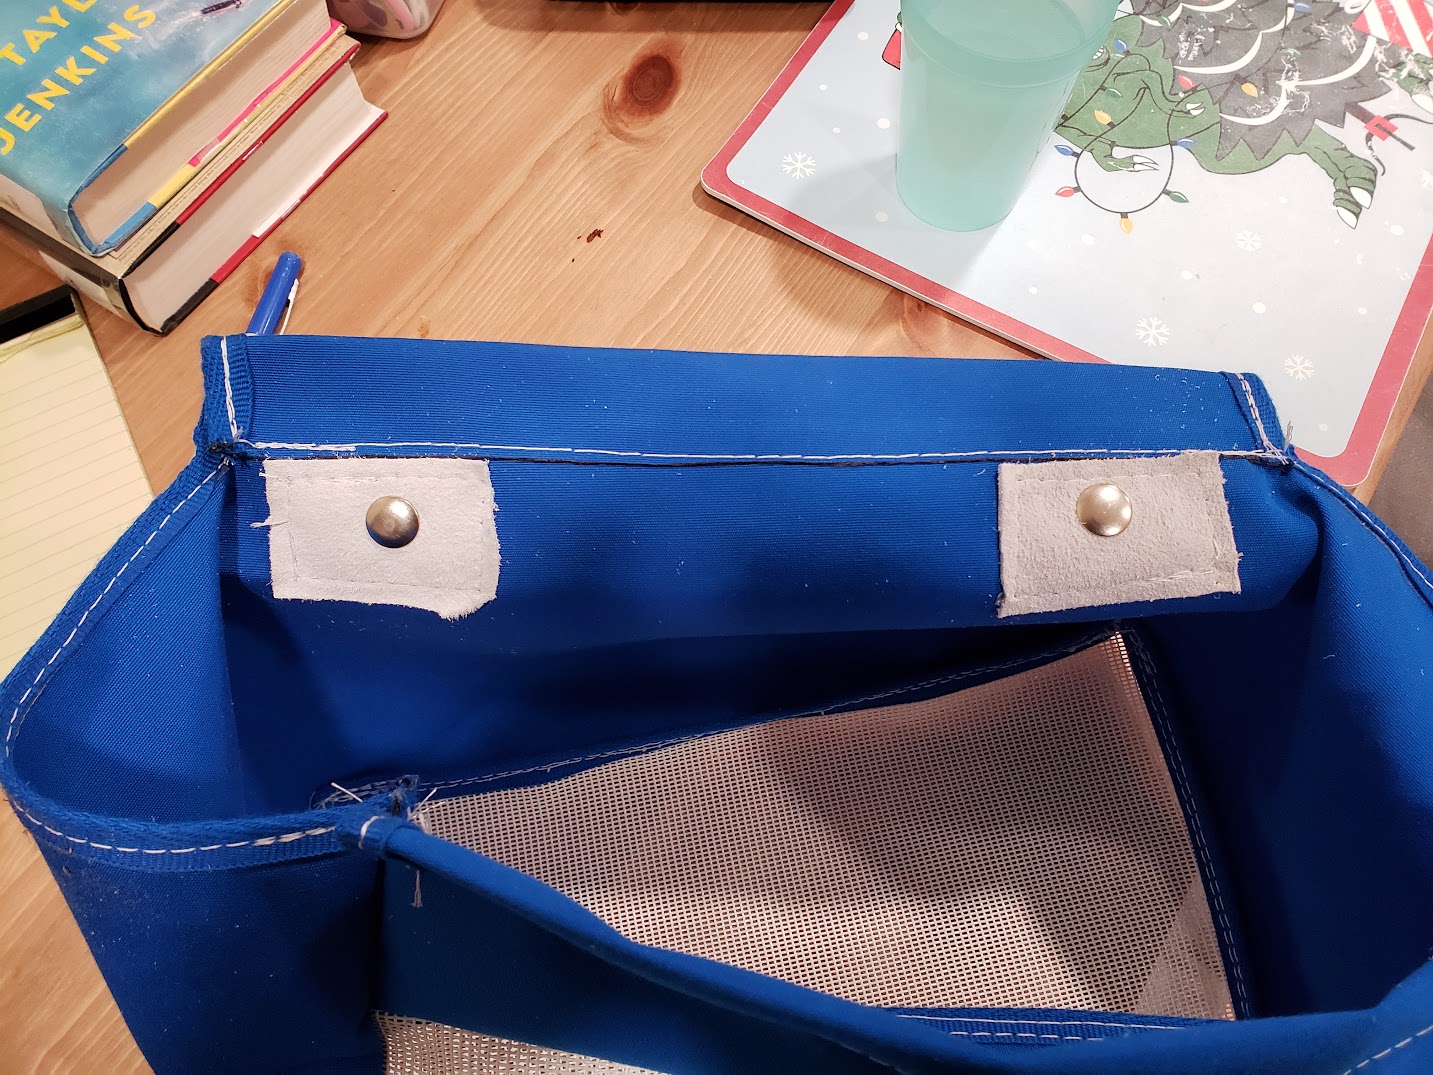
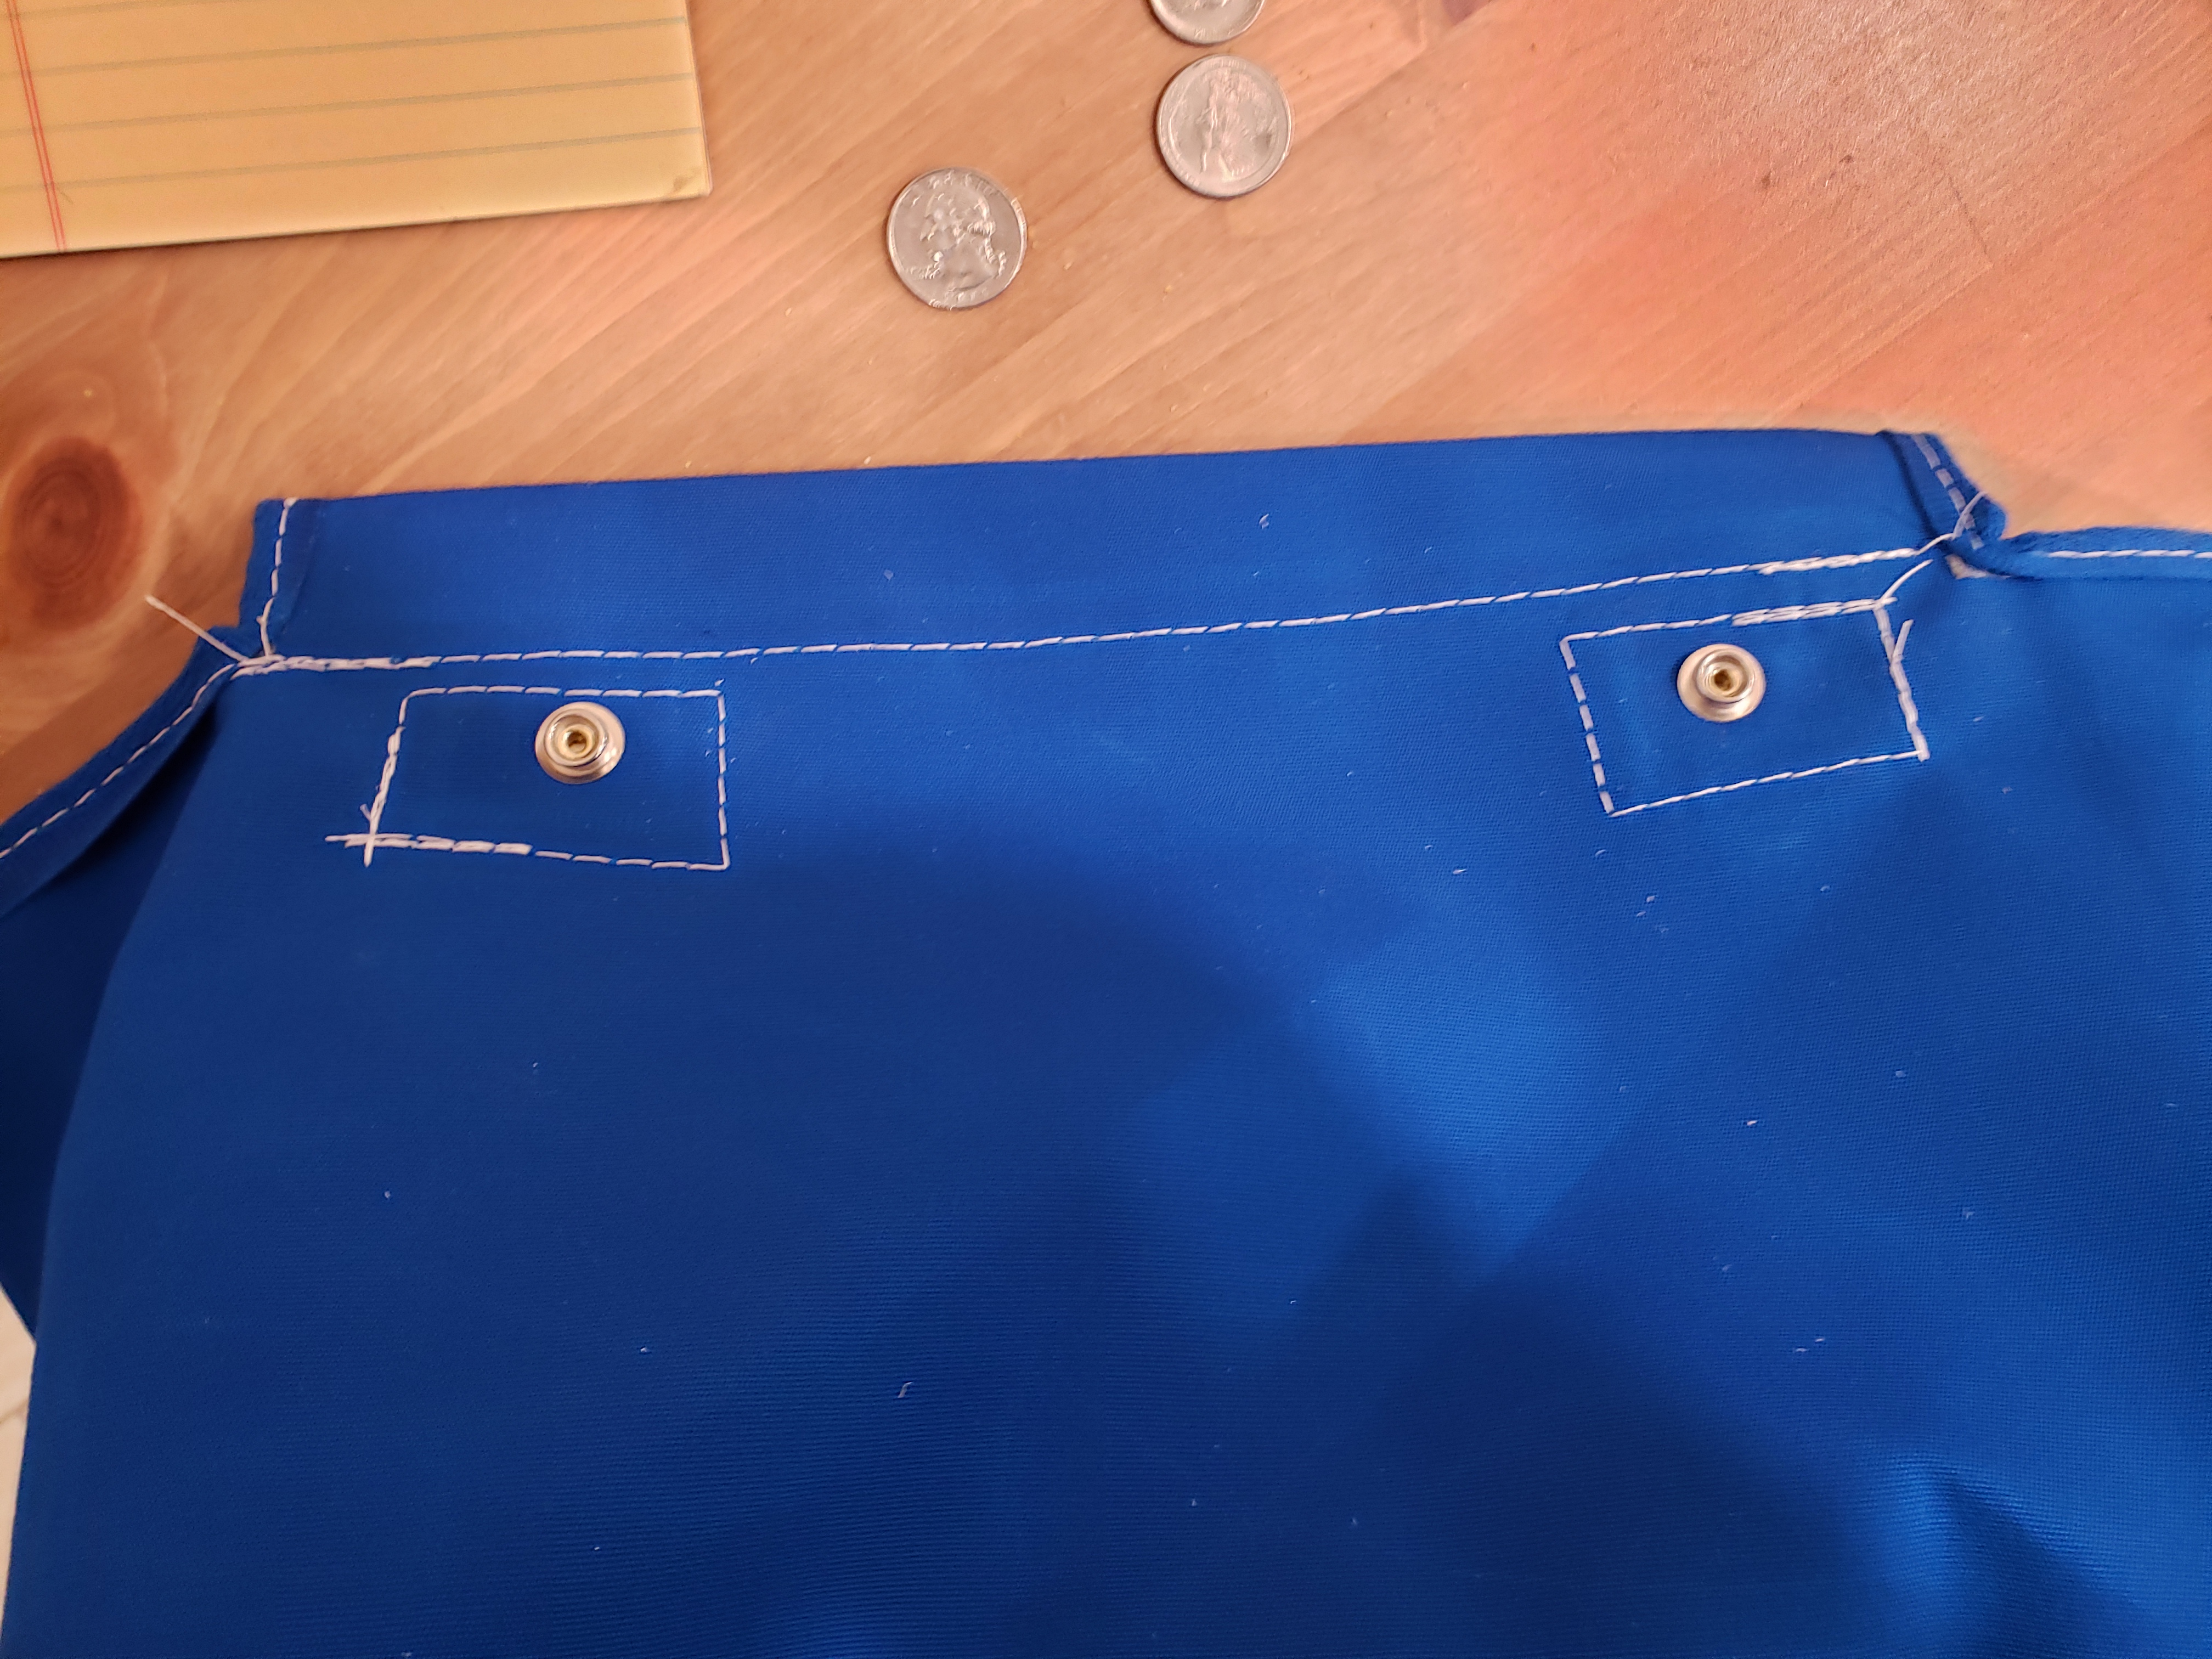
In a previous version, I placed the studs and buttons right on the back panel. For this one I added some leather reinforcements and placed the studs and buttons two inches from the top and the bottom:
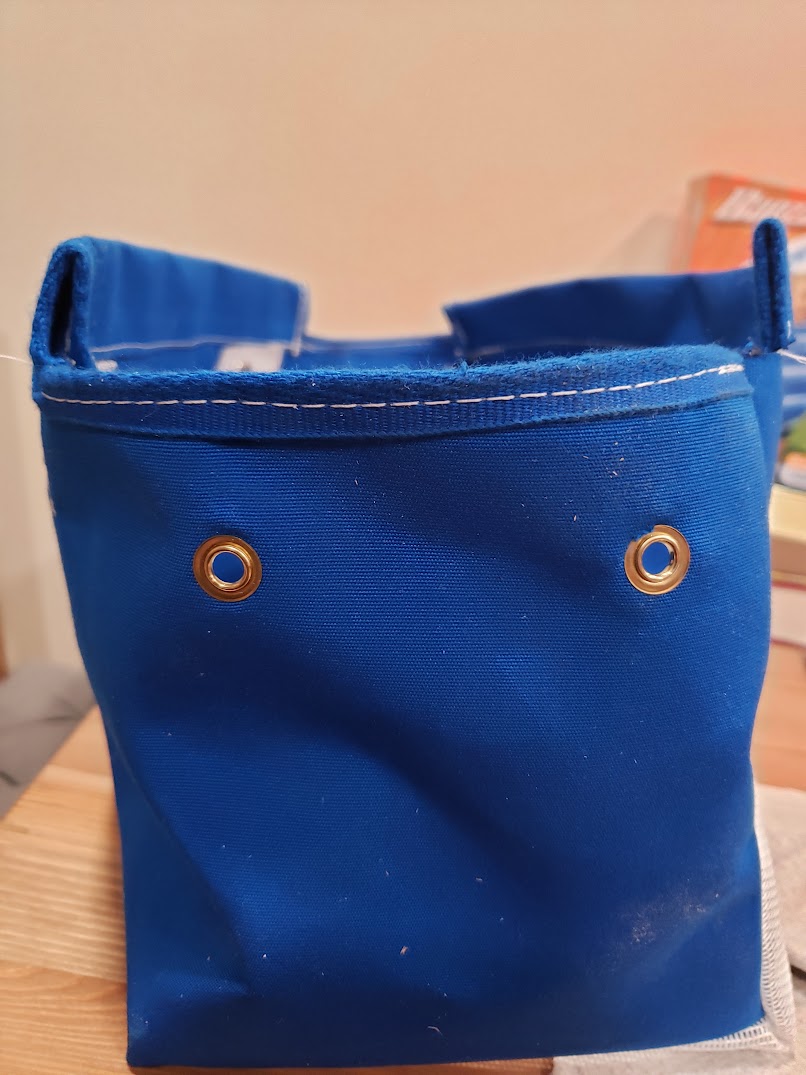
Finally an inch and a half from the top and two inches in from each corner I placed two grommets on each side. I am a little worried about the Sunbrella unraveling at these punch holes (you can see a bit in the picture), but they don’t really support any weight so I’m hoping for the best:
Insert the two rods from the old old rope bags into the pockets (or source new ones) and insert the shock cord through the rods and grommets. Tie it off for how much you want the bag to hang open and you’re done!
To attach it to the boat attach the SNADs, clean the adhesion surface with isopropyl alcohol, and press them into place. Carefully detach the bag and give them 36 hours to set. Now you can attach and detach the bag as needed: